Friday, December 30, 2011


Felt Coin Purse 


So I’m at my In-Laws’ house for a few days - but what fun would vacation be without crafting? After all, the guys are going to be playing video games for days, so I need to keep busy. I arrived with my sewing machine, rainbow selection of thread, cutting mat, embroidery thread, basket of felt, and a stack of fabric all ready to go… and as if that wasn’t enough, somehow I found myself at a Fabricland and got even more fabric! 


As well as making two more zippered bags for friends, I whipped up this little felt change purse. Now that I’ve conquered zippers, I just can’t get enough! 

Tuesday, December 27, 2011


Proof that J is crafty too!


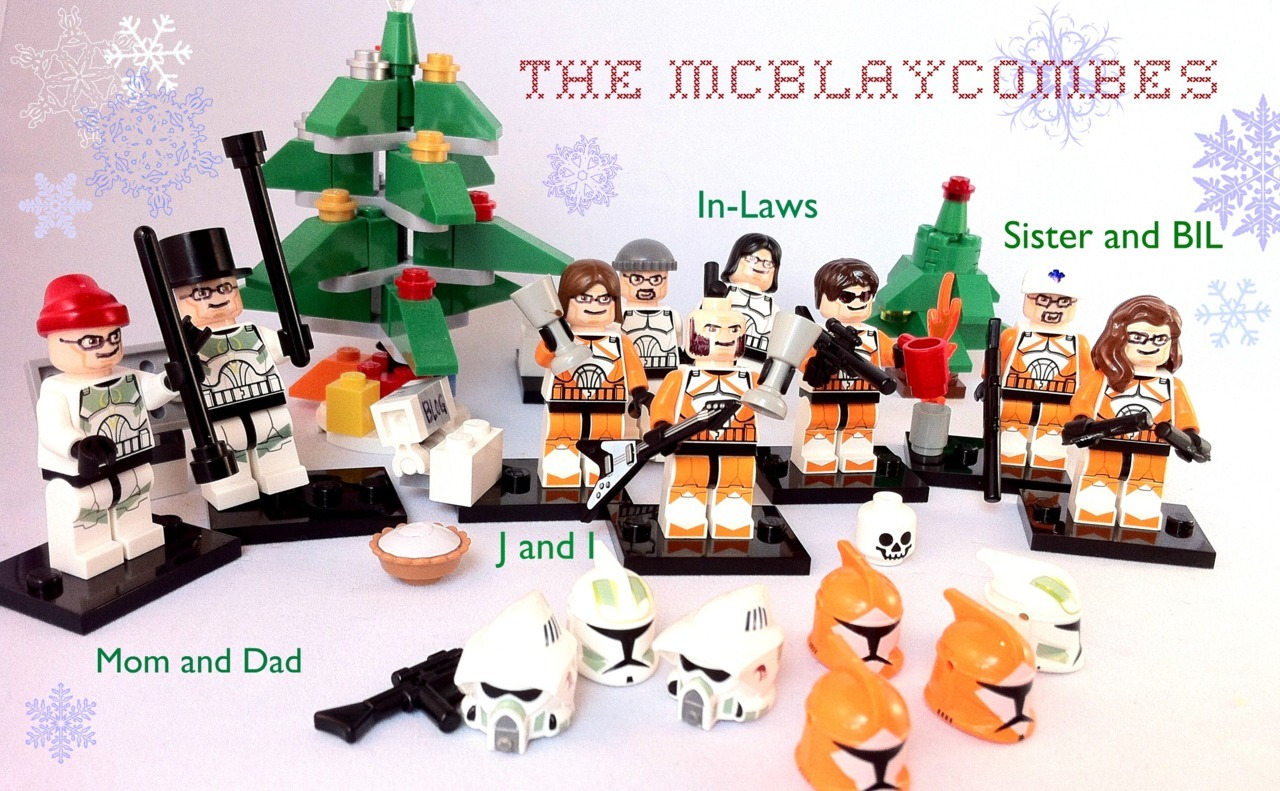
Presenting our Lego family - The McBlayCombes! (That’s our three family names mashed together, BTW.) J made everyone a personalised figure as a stocking stuffer. He gathered hair and accessories for everyone, and carefully drew on glasses and smiles (What can I say - We’ve got collectively bad eyesight, but we’re happy!) My figure came with a sewing machine and a little wee mac laptop, labelled “blog”. I’m so impressed! Thank you, J!


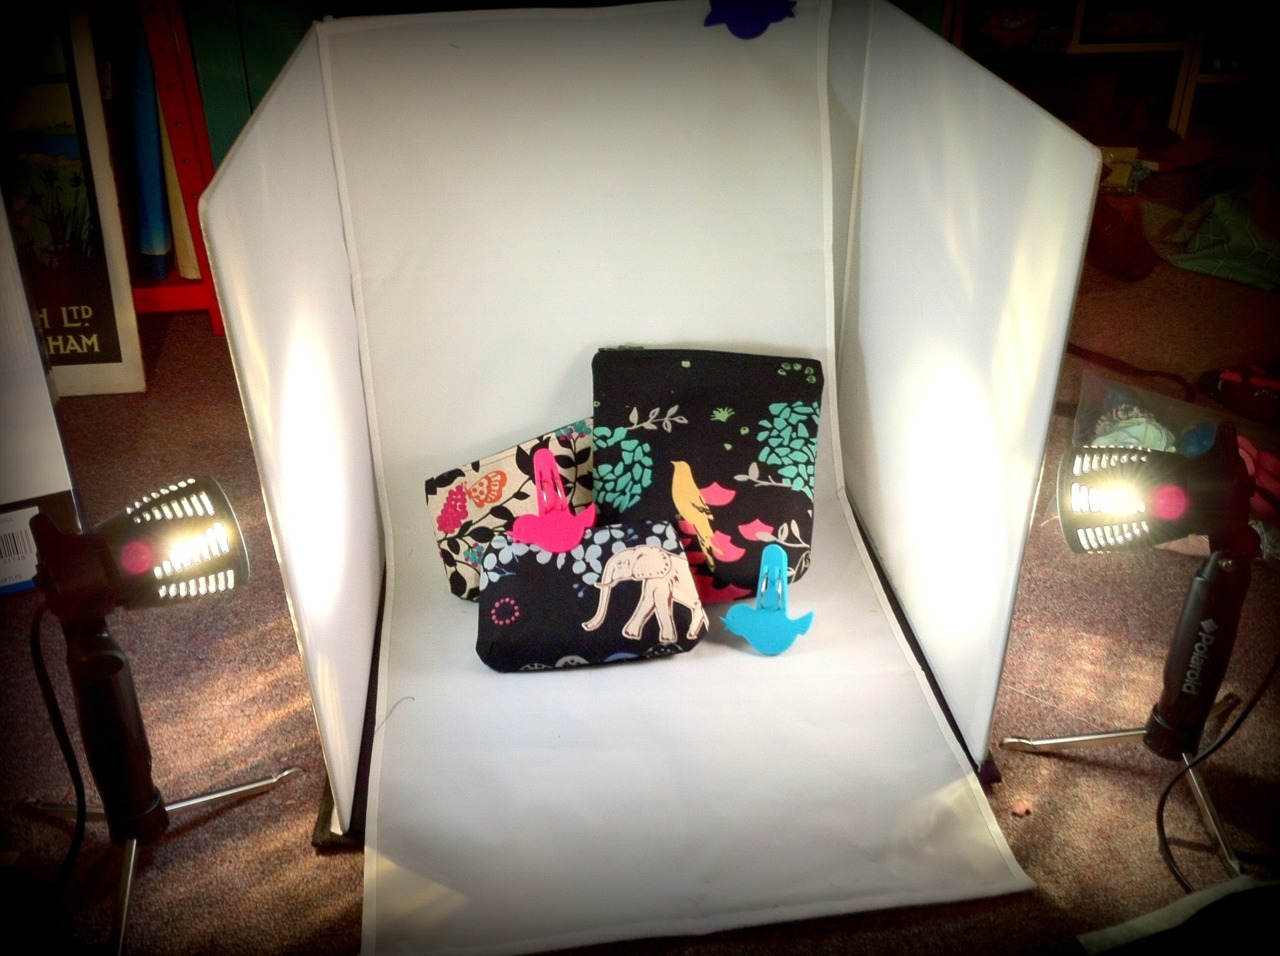
Photo Tent - Yippeeeee!!!!!


How cool is this?!?! J totally amazed me by giving me a Panasonic Portable Light Studio for Christmas. I’d been thinking about rigging up a homemade photo tent for myself come January - Somehow, it never even occurred to me that they might be available for sale! I’ve had so much fun playing with it already. Typically, the idea occurred to him while looking at a blog post about how to photograph Star Wars figurines. I’m so happy to be married to a nerd! 


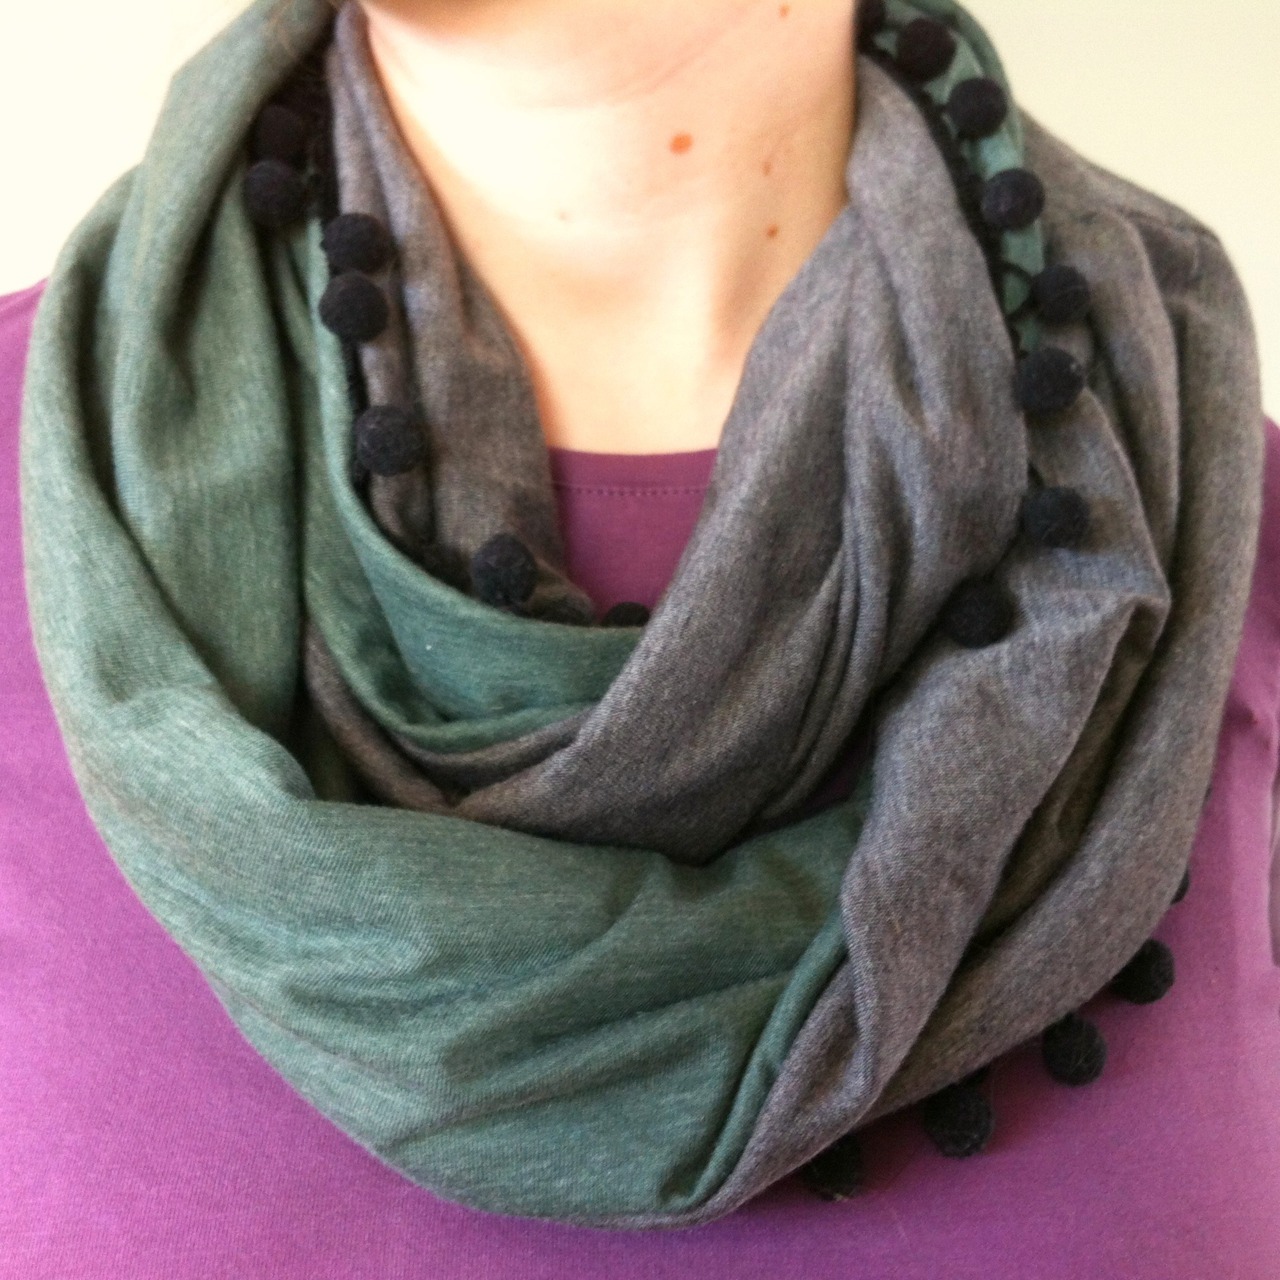
Pom Pom Cowl


Who doesn’t love pompoms? They make everything more fun. This was originally going to be a Braided Scarf based on Put Up Your Dukes' tutorial, but when I tried it out, there just wasn't enough contract in the colours to make it sing! Instead, I cut two rectangles about 30cm x 130cm, and seamed them together with the pom pom trim down one long side. I gave the pieces a full twist before sewing the short ends together, so that they drape more interestingly. 


It was a gift for my sister - Merry Christmas, Anne!


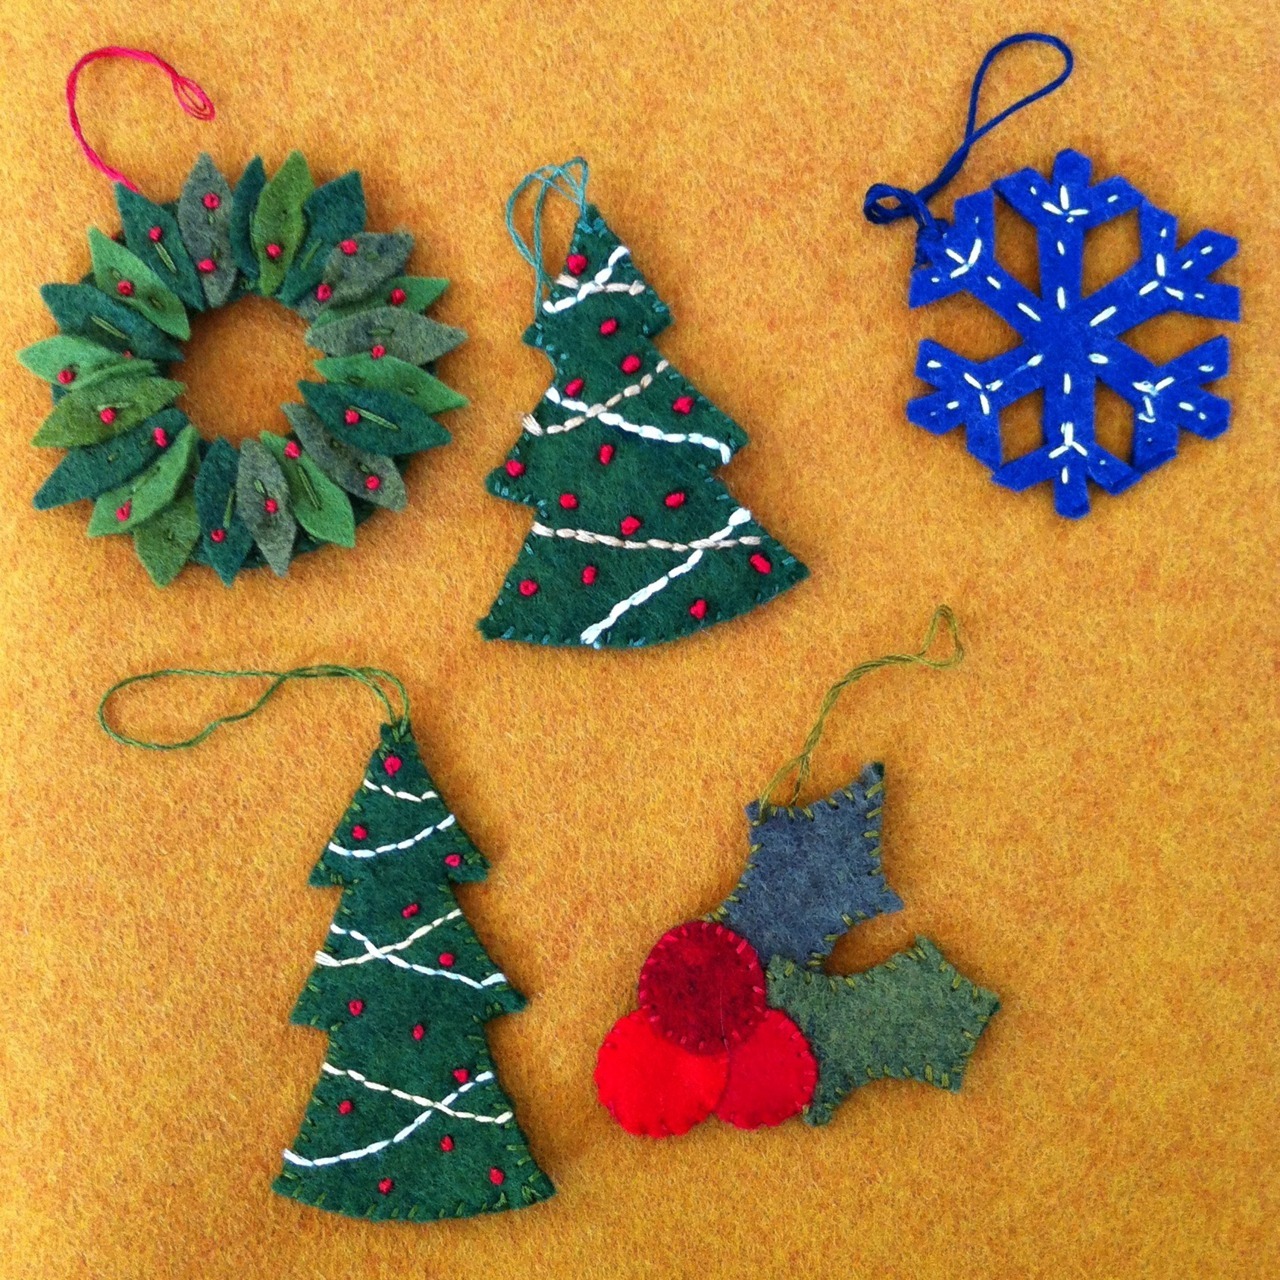
Felt Applique Ornaments


I enjoyed having some hand-sewing projects to work on while hanging out with family - and these were the result! 


Button Magnets


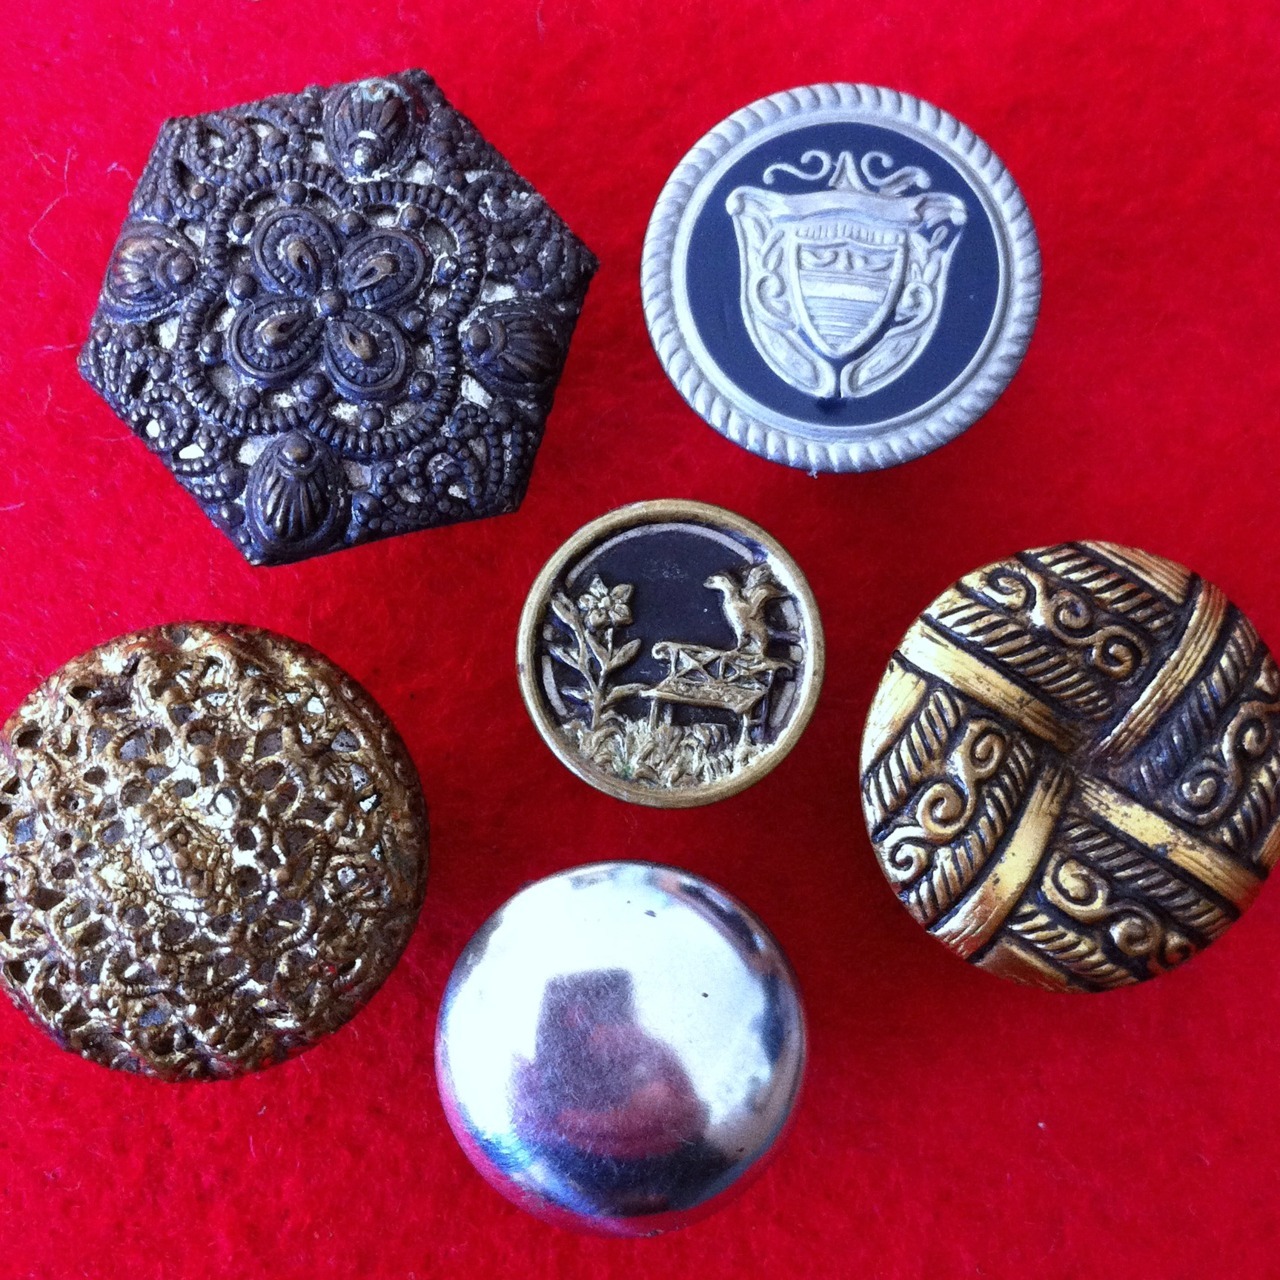
Old buttons + glue gun + circle magnets = a 3 minute craft project! 

Saturday, December 24, 2011


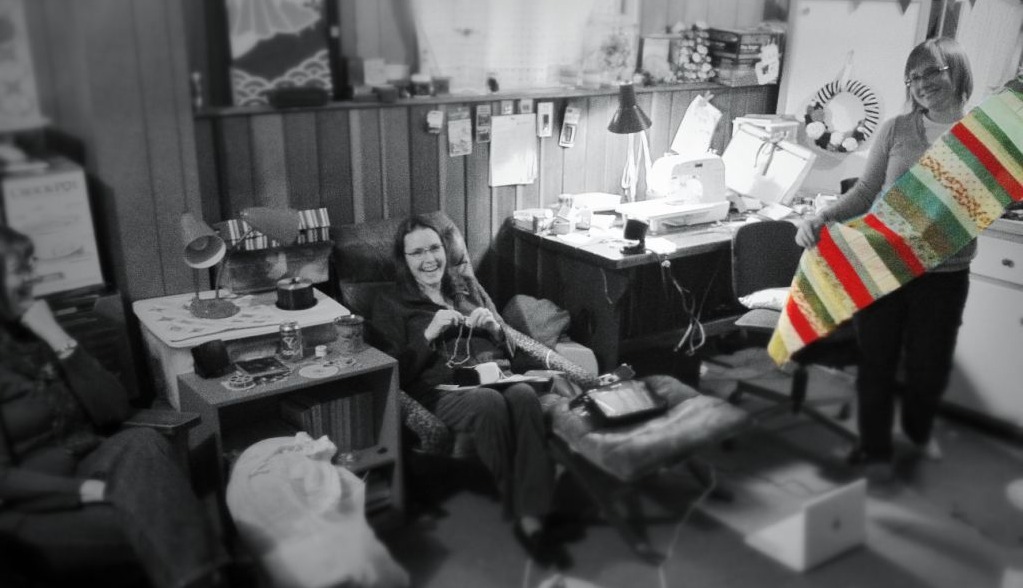
Merry Christmas! My Dad took this picture as I was finishing a festive table runner this afternoon - I love the editing he did! Thanks Dad! 


The house is full of family tonight, including my sister and her mother-in-law in the picture. I can hear J laughing and playing video games with the guys in the room next door… It’s great to be living in Canada this year! 


Merry Christmas!

Sunday, December 18, 2011


Striped Wreath


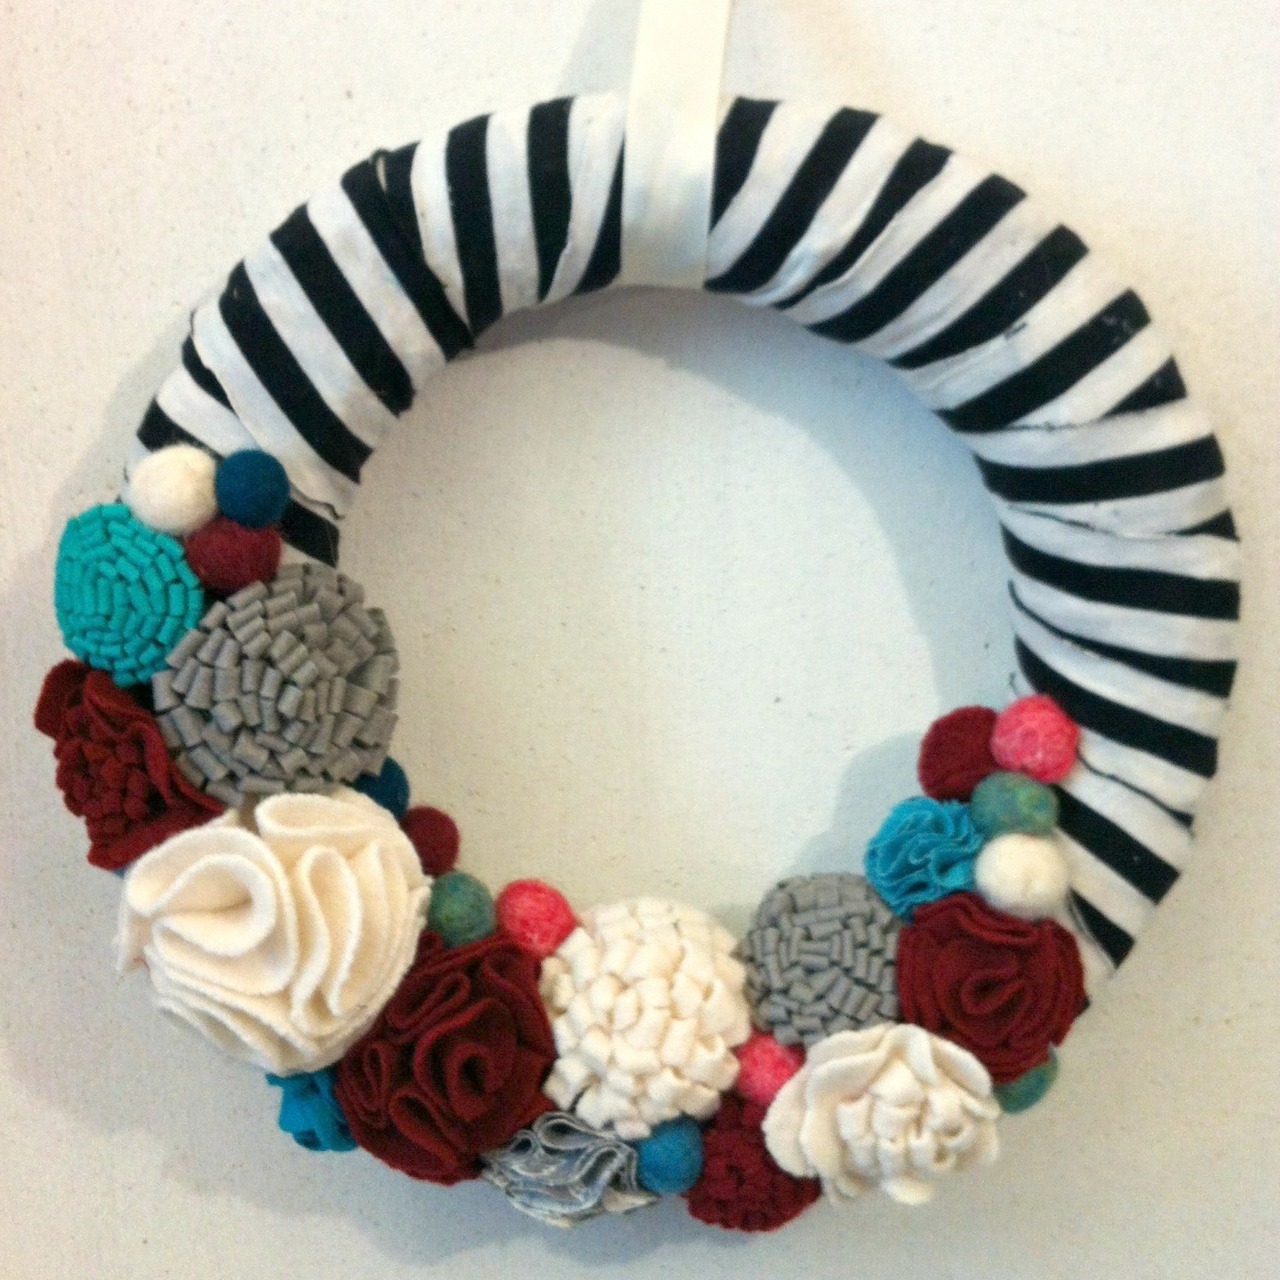
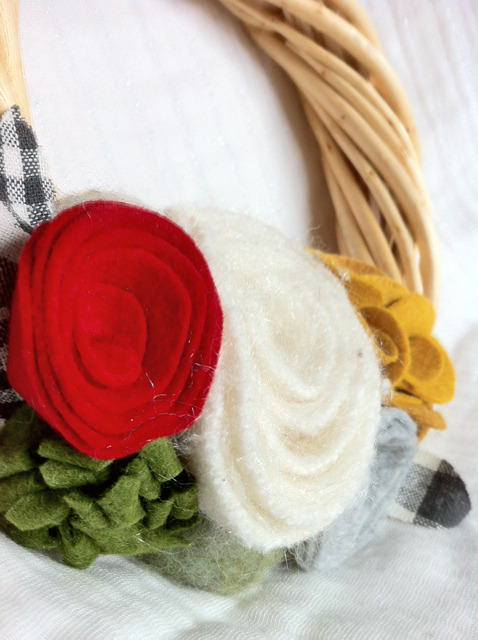
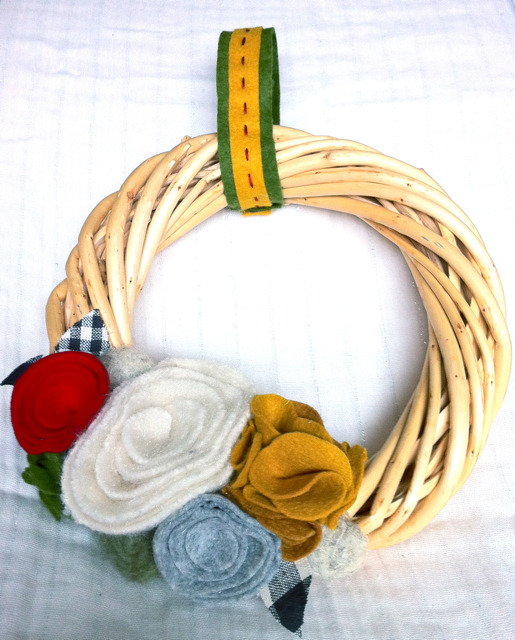
I made this a few months ago, before I started the blog or even had a craft room set up! It is, as many people would recognize, inspired by Nest of Posies’ beautiful "Fashion Forward Fall Felt Flower Wreath". It was one of the first things I ever fell in love with on Pinterest. It was destined to be a Christmas gift, but I love it so much that I think I’ll keep it!


(The flowers are a mix of felted wool sweaters, actual felt, and scrap fabric, mixed in with felted wool balls. For the stripes, I cut up a thrifted t-shirt. The wreath form is also thrifted!)

Saturday, December 17, 2011


Felt Circle Garland


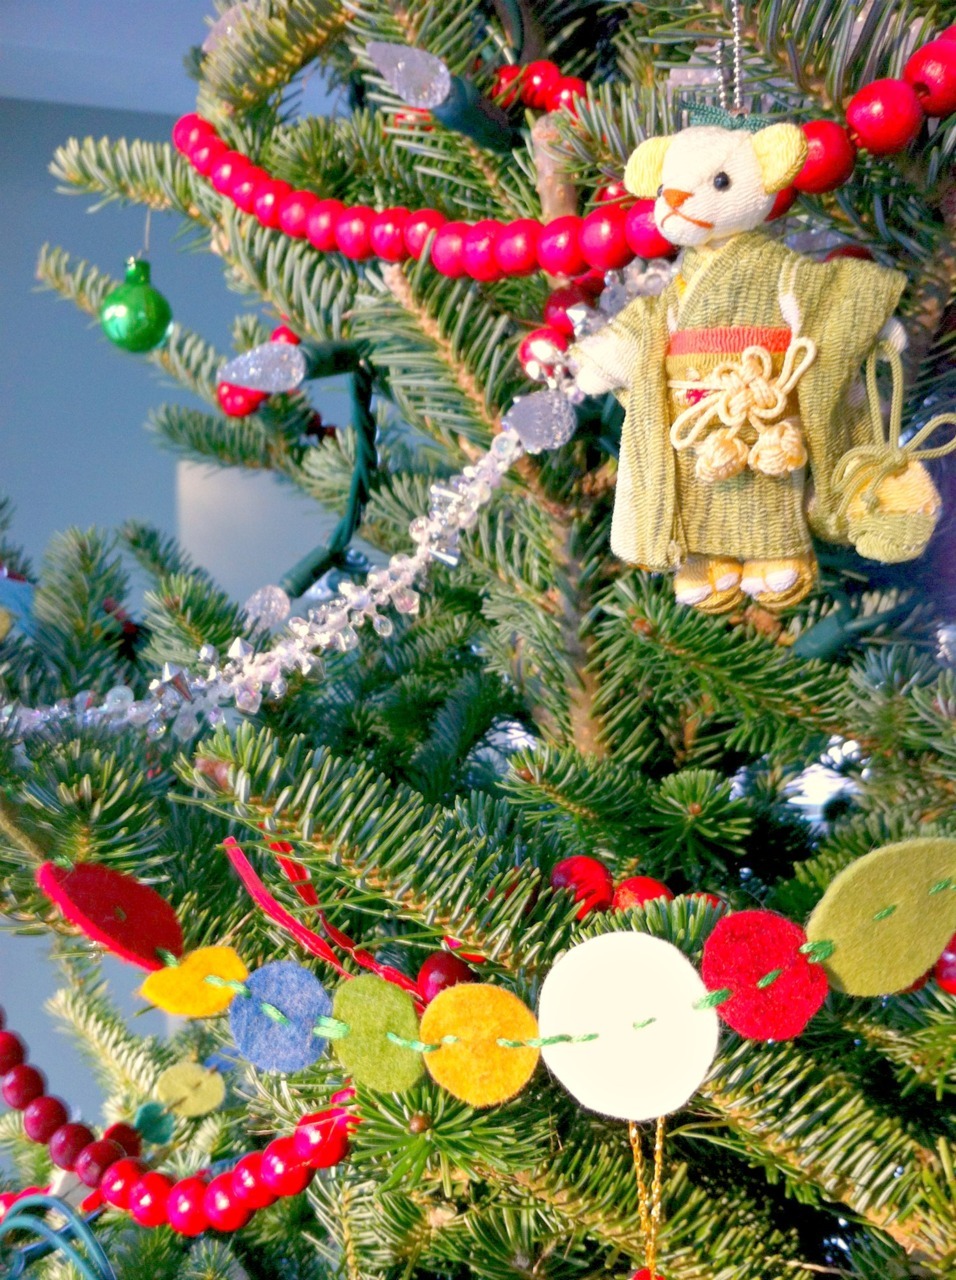
This is what happens when my felt stash and I sit down to watch the 5 hour BBC version of Pride and Predjudice! It was fun and pleasantly mindless to make. It’s a bit of a tribute to the paper circle garlands that I made for our wedding, and the felt ball garland I made for everyone last year. What can I say? I like circles on a string! 


Fabric Necklaces


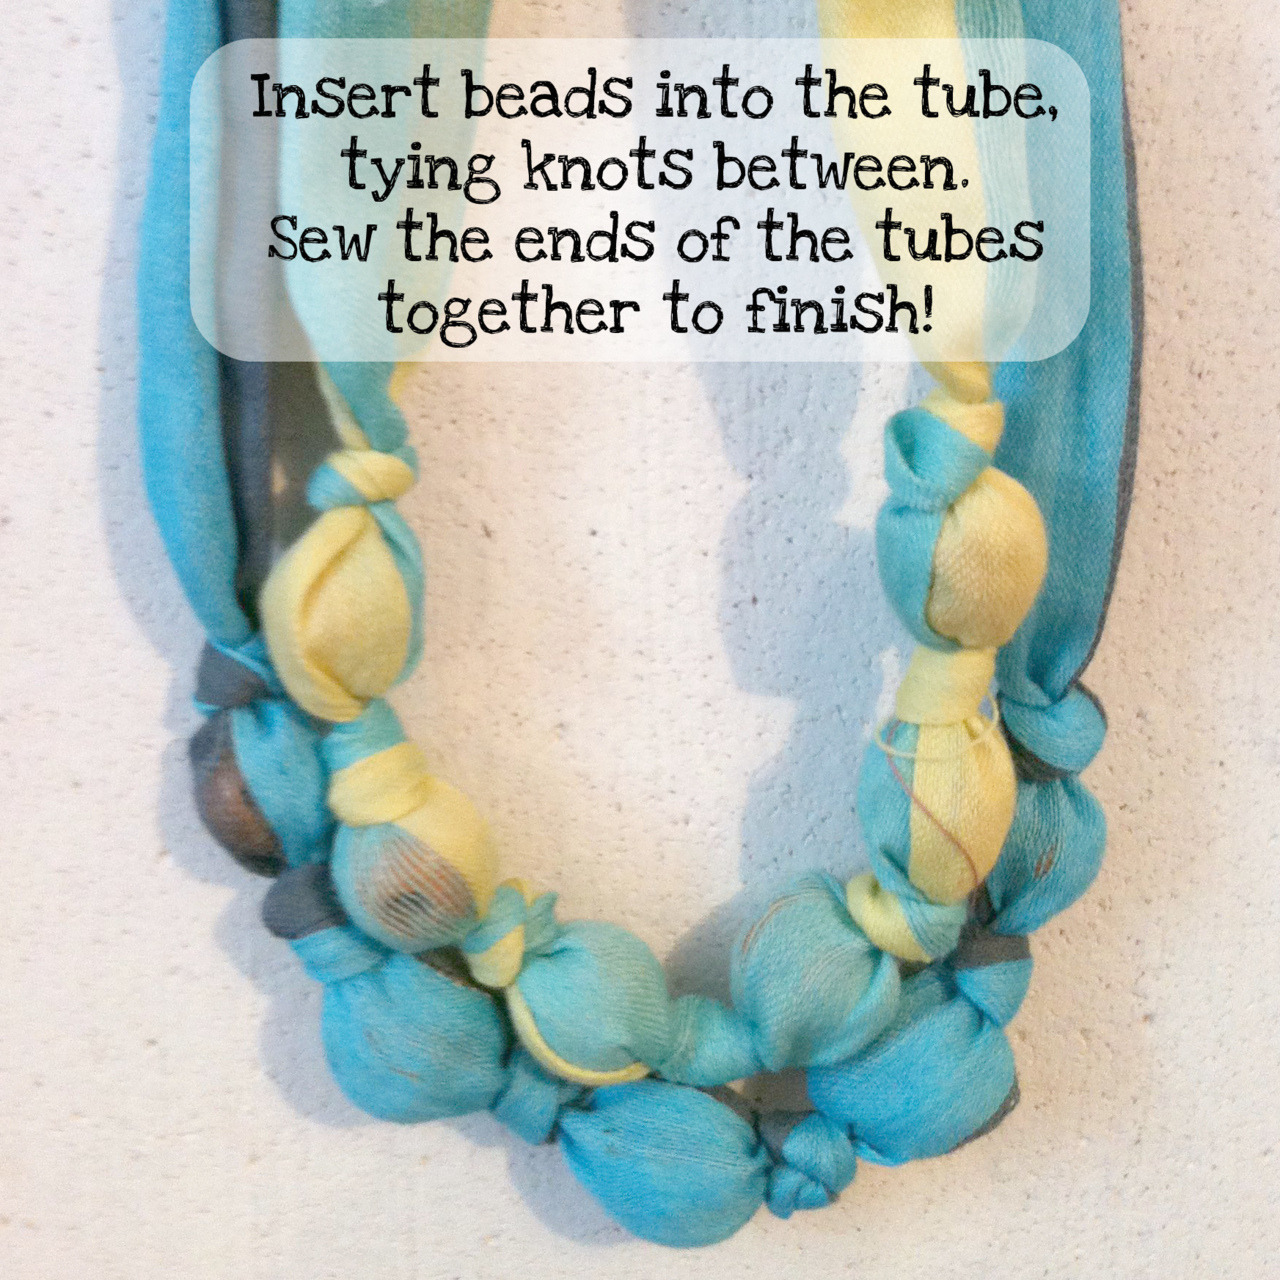
This is my second set of necklaces made from the same rainbow scarf. (The first set is burnt orange and ochre.) It’s a nice lightweight material, which makes the knots quite small. I’ve seen people make these necklaces with all kinds of fabric though, and I’m curious to try making them with something thicker!


Bunting Tree


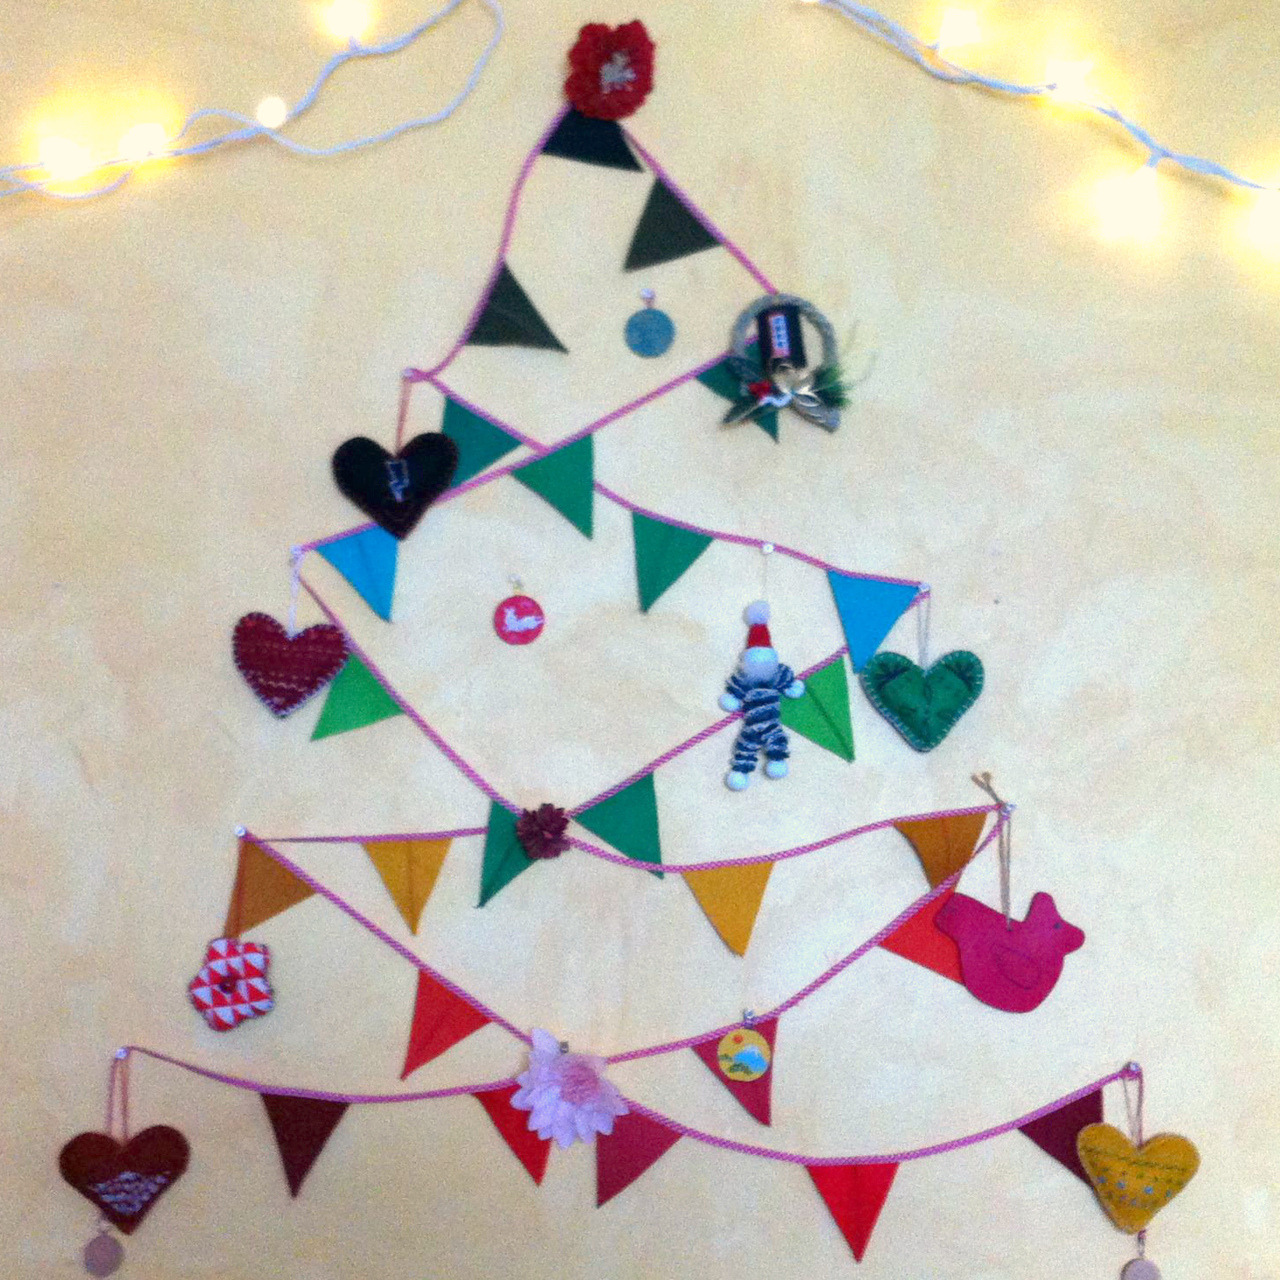
After an up-and-down day of crafting today, I’m ready to celebrate some little things I’ve done recently… Starting with this “tree” we made out of felt bunting in our room! I made the bunting and all of these ornaments while we lived in Japan, so it’s particularly natsukashii (warmly nostalgic) so wake up to them every morning! 

Thursday, December 15, 2011


Wool Felt Ornaments, Type 2!


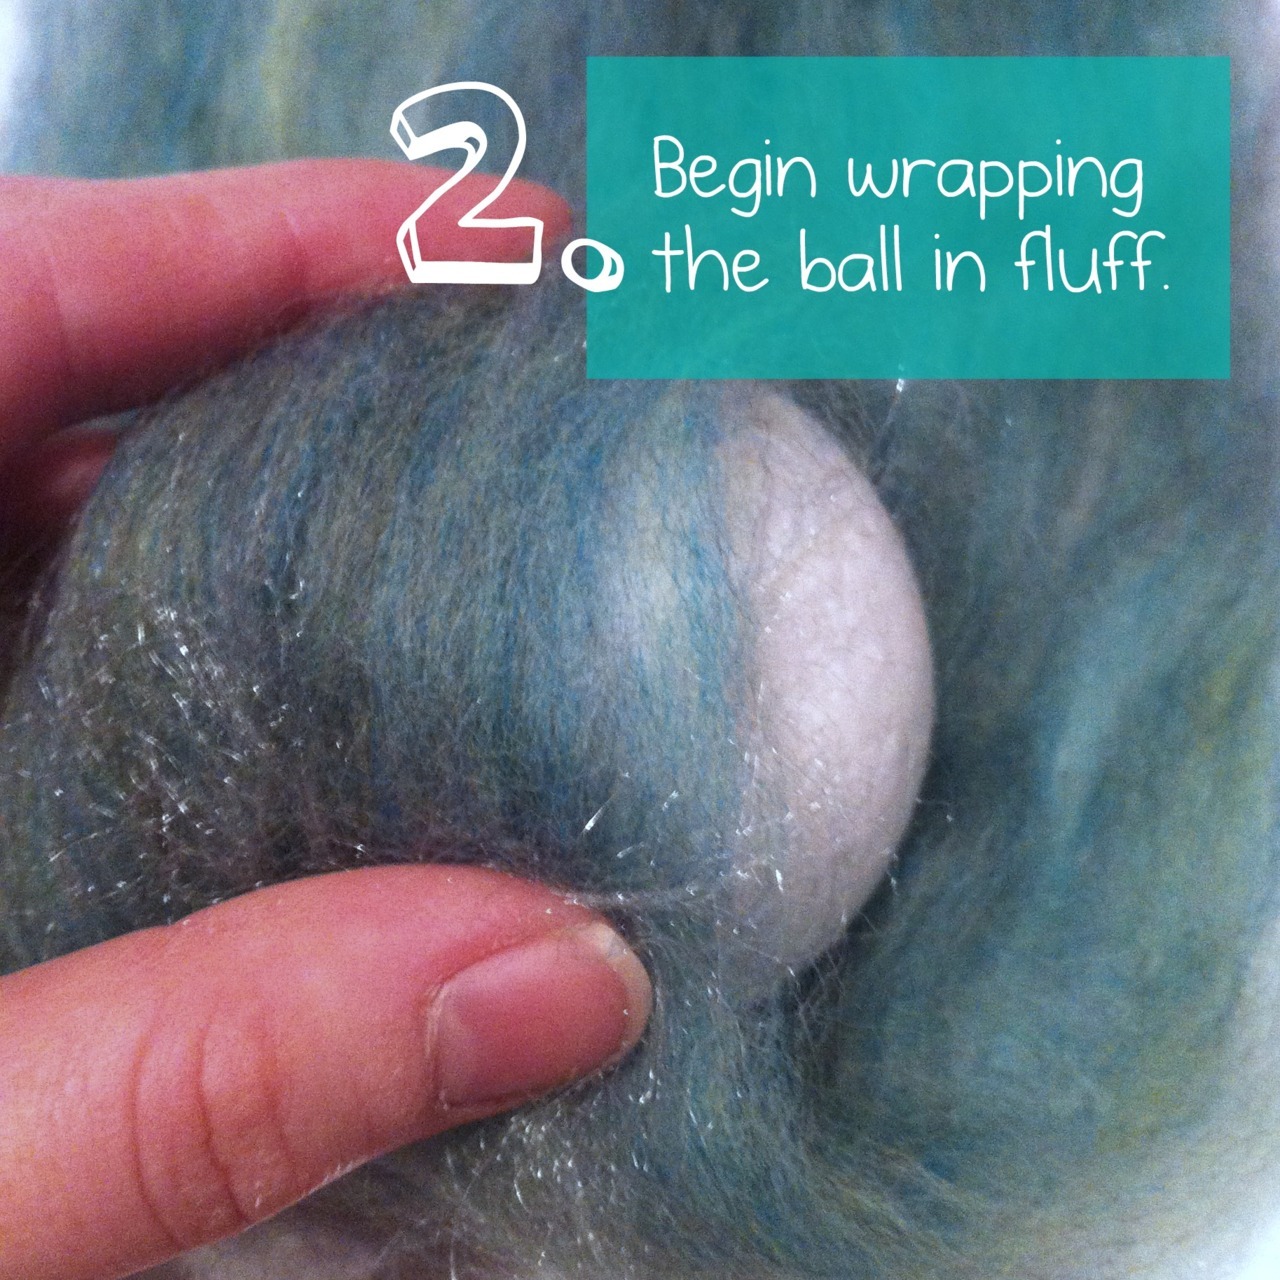
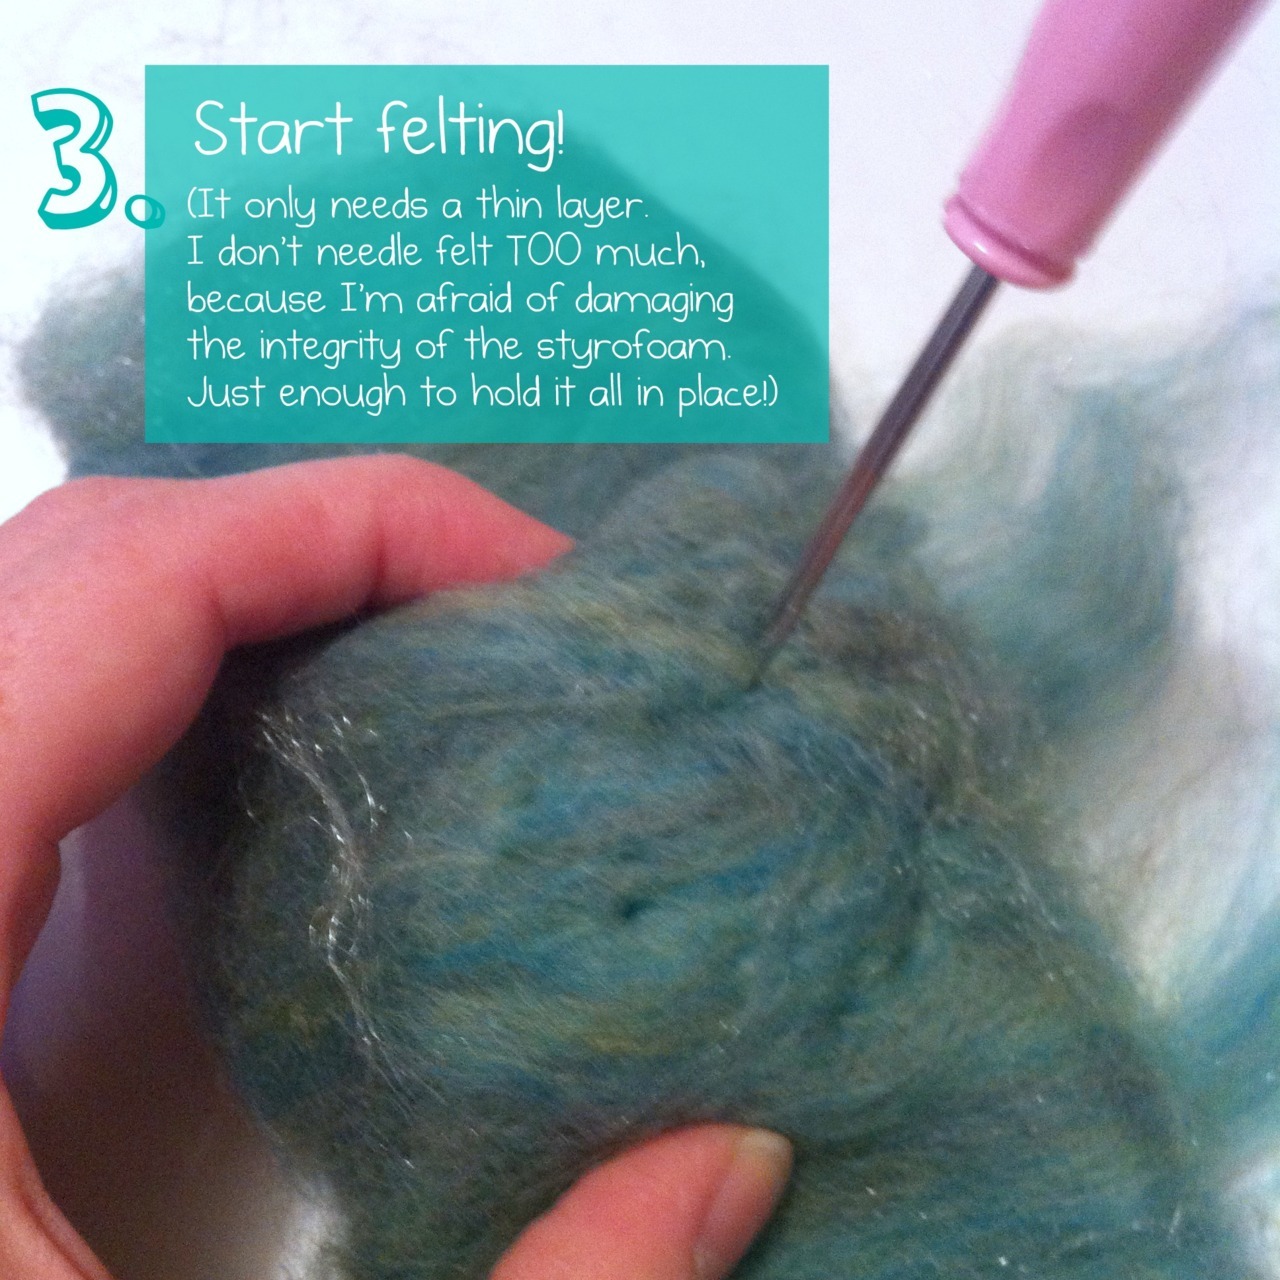
I’ve made a bunch of these ornaments this year - In fact, I need to get some more styrofoam balls! It only takes a little bit of roving, and from the needle-felting takes mere seconds. A great quick gift!

Tuesday, December 13, 2011


Embroidered Felt Heart Ornaments


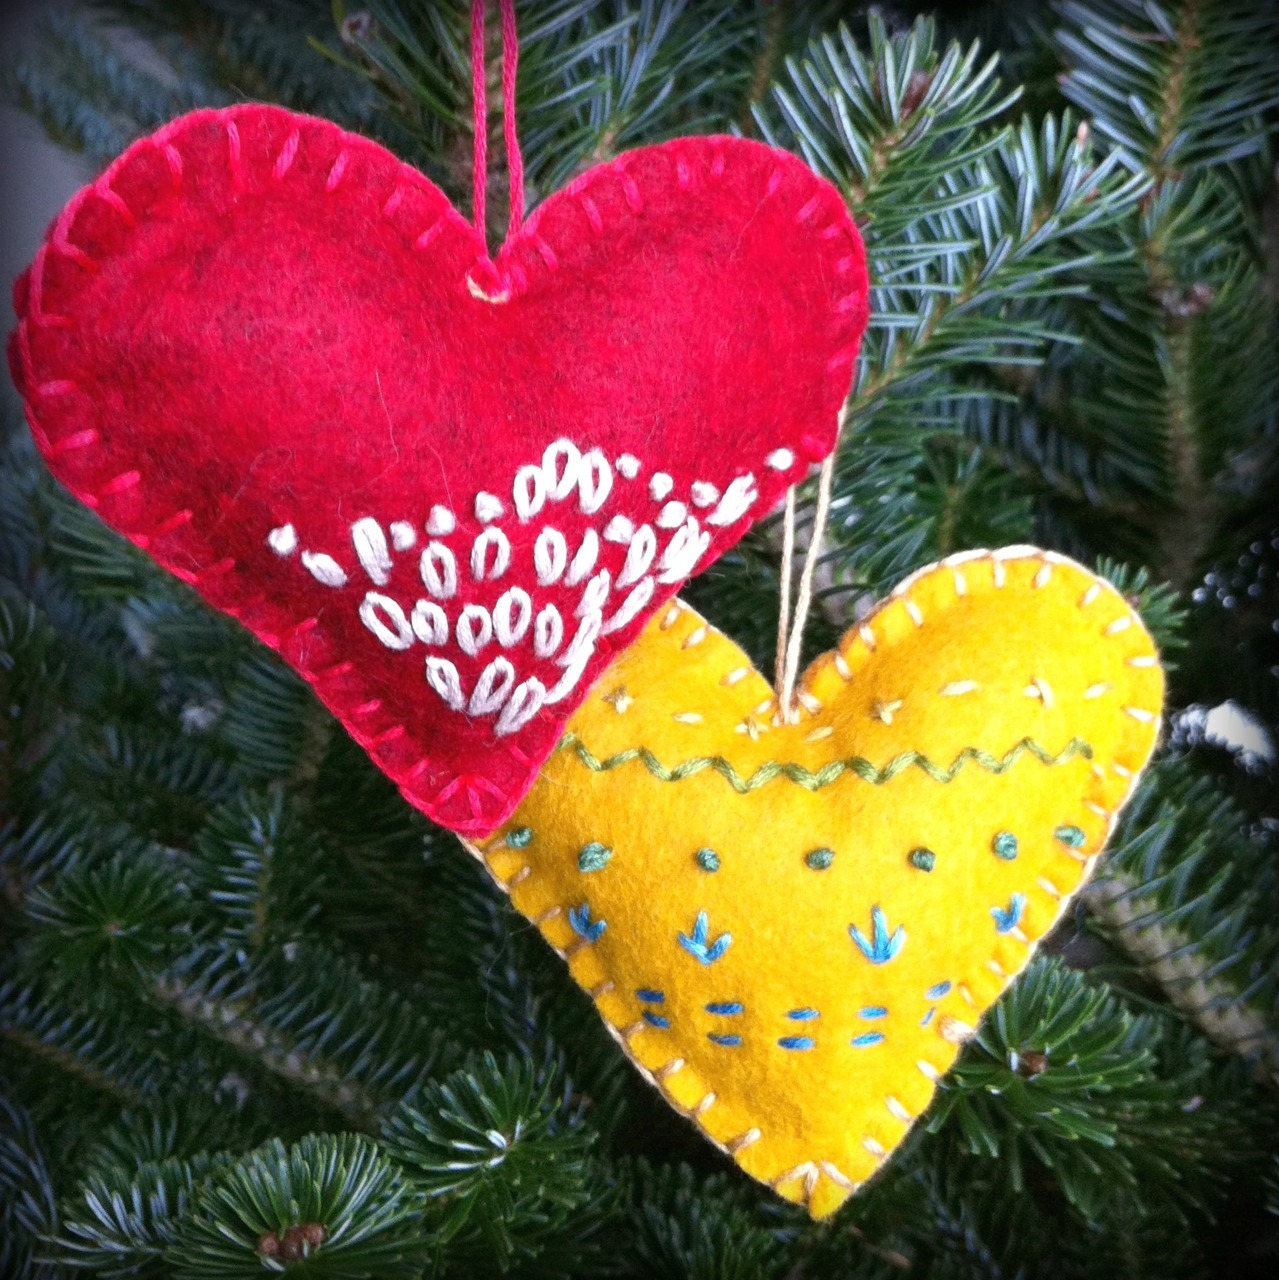
These hearts area stable in my family… My mom bought some at a craft sale when we were very young, and we’ve been making our own versions ever since! These are my most recent. I’m enjoying building up our supply of ornaments, in hopes that J and I will have a tree (and apartment!) of our own by next Christmas!


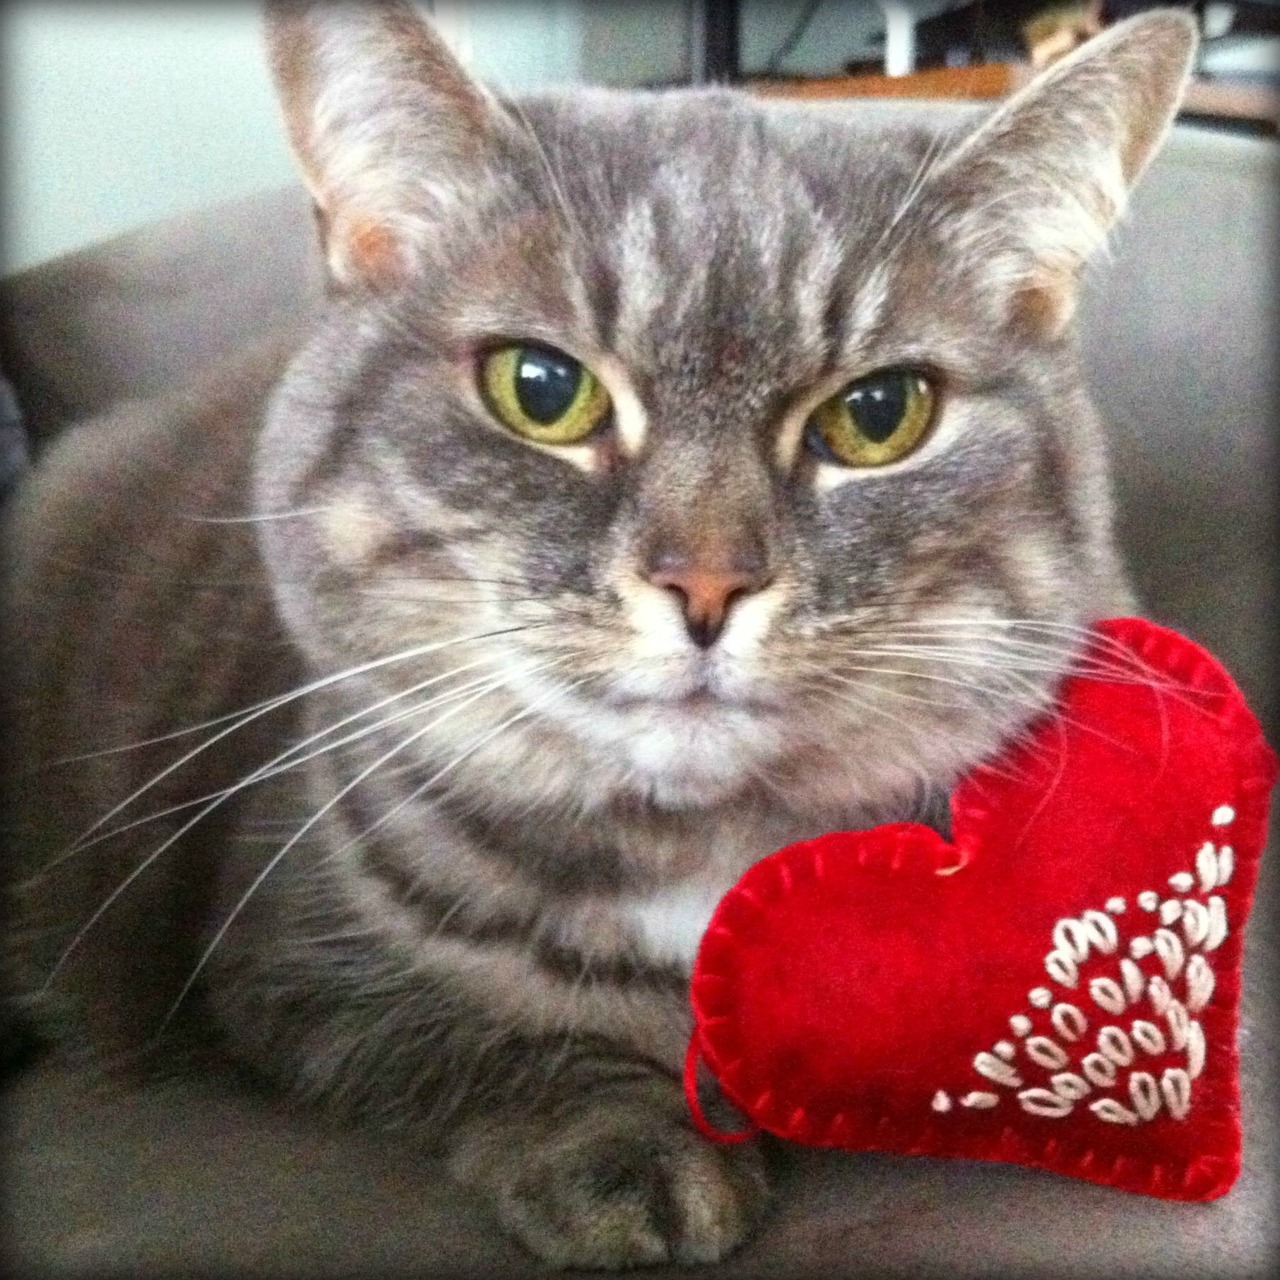
(My cat figured the heart was a new toy, so she kept rubbing her face in it!)

Monday, December 12, 2011


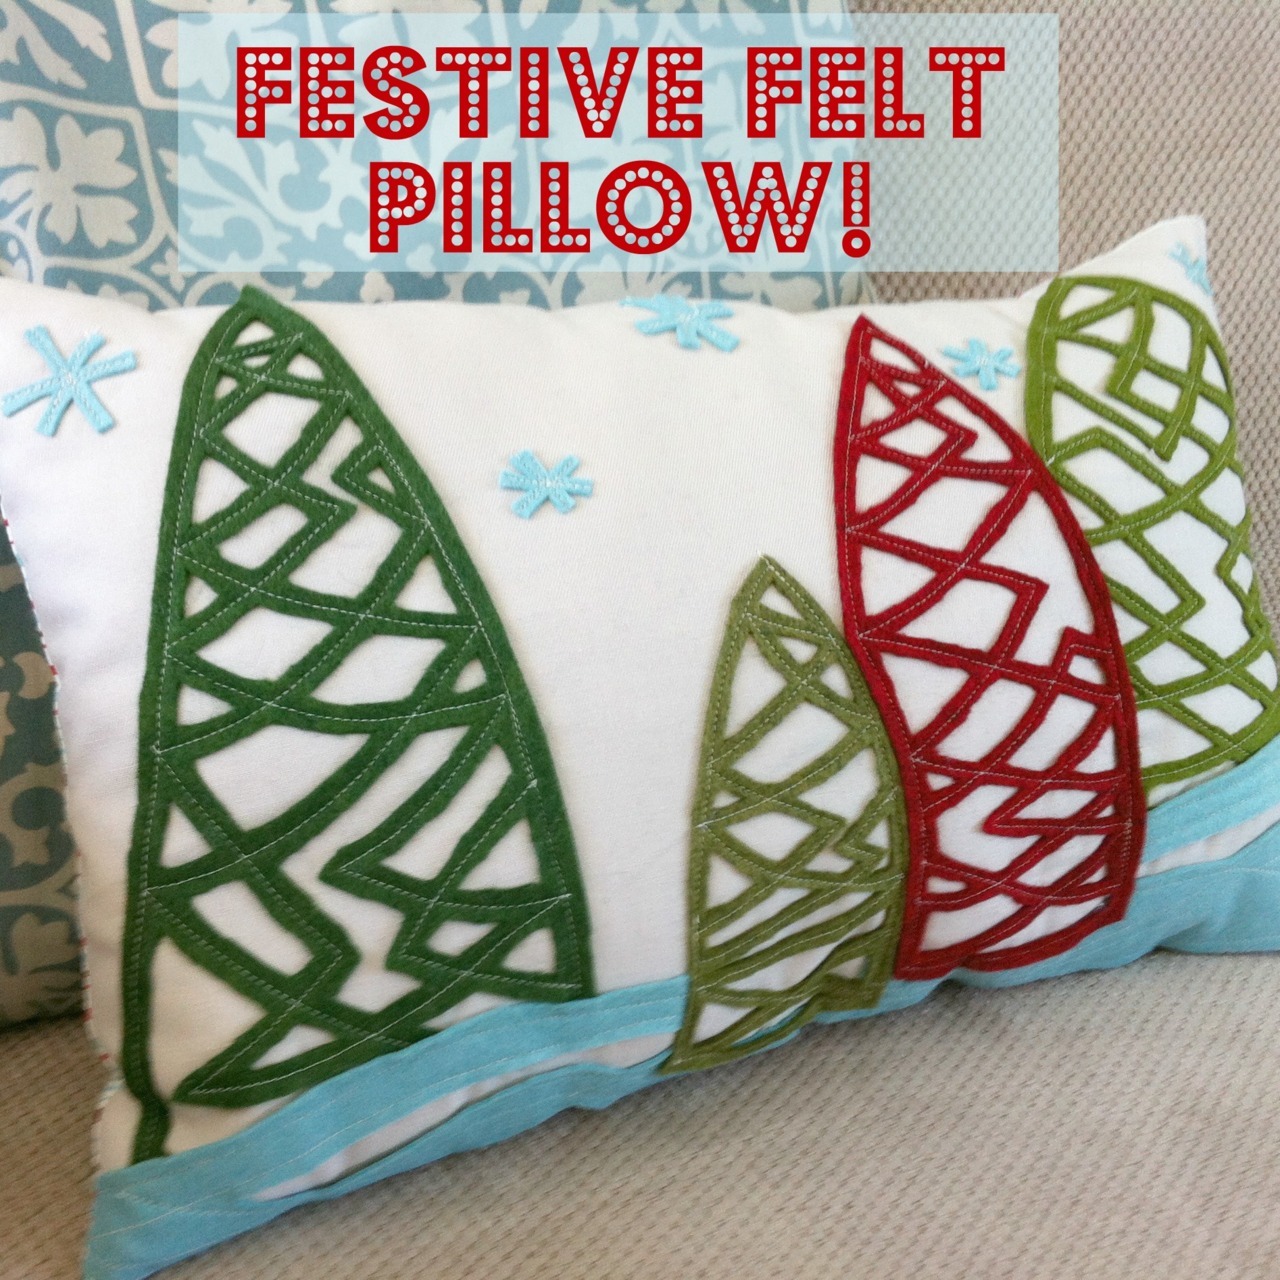
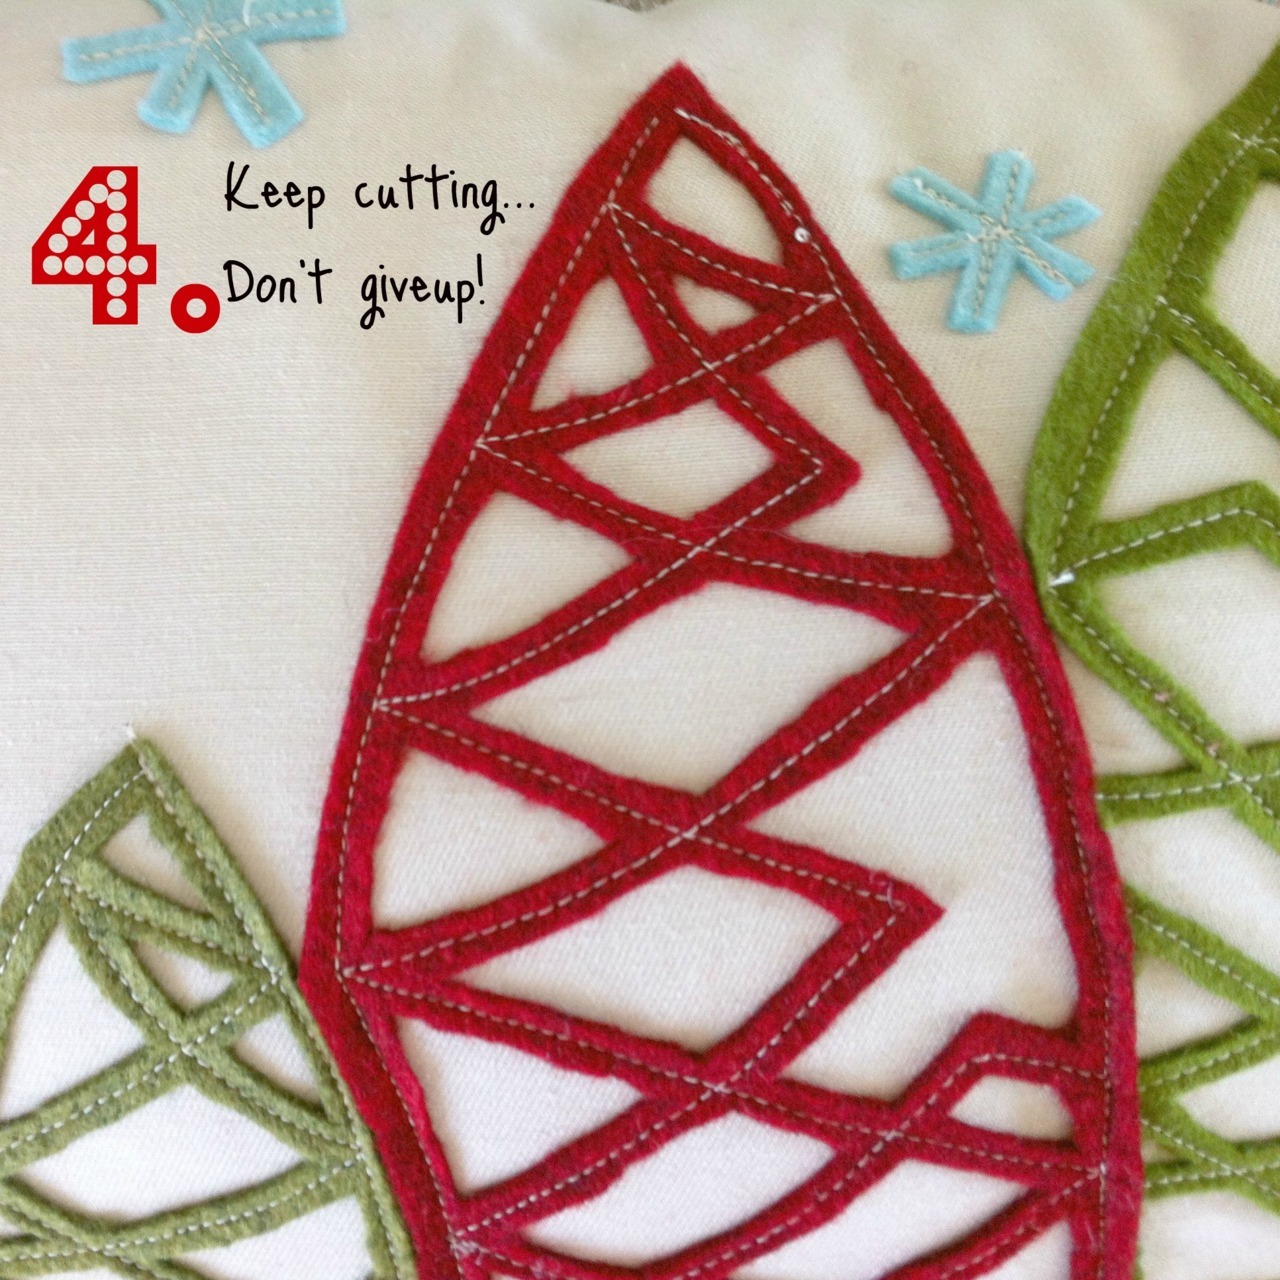
Festive Felt Pillow Tutorial, inspired by Betz White’s reverse applique tutorial in Whip Up Mini Quilt.


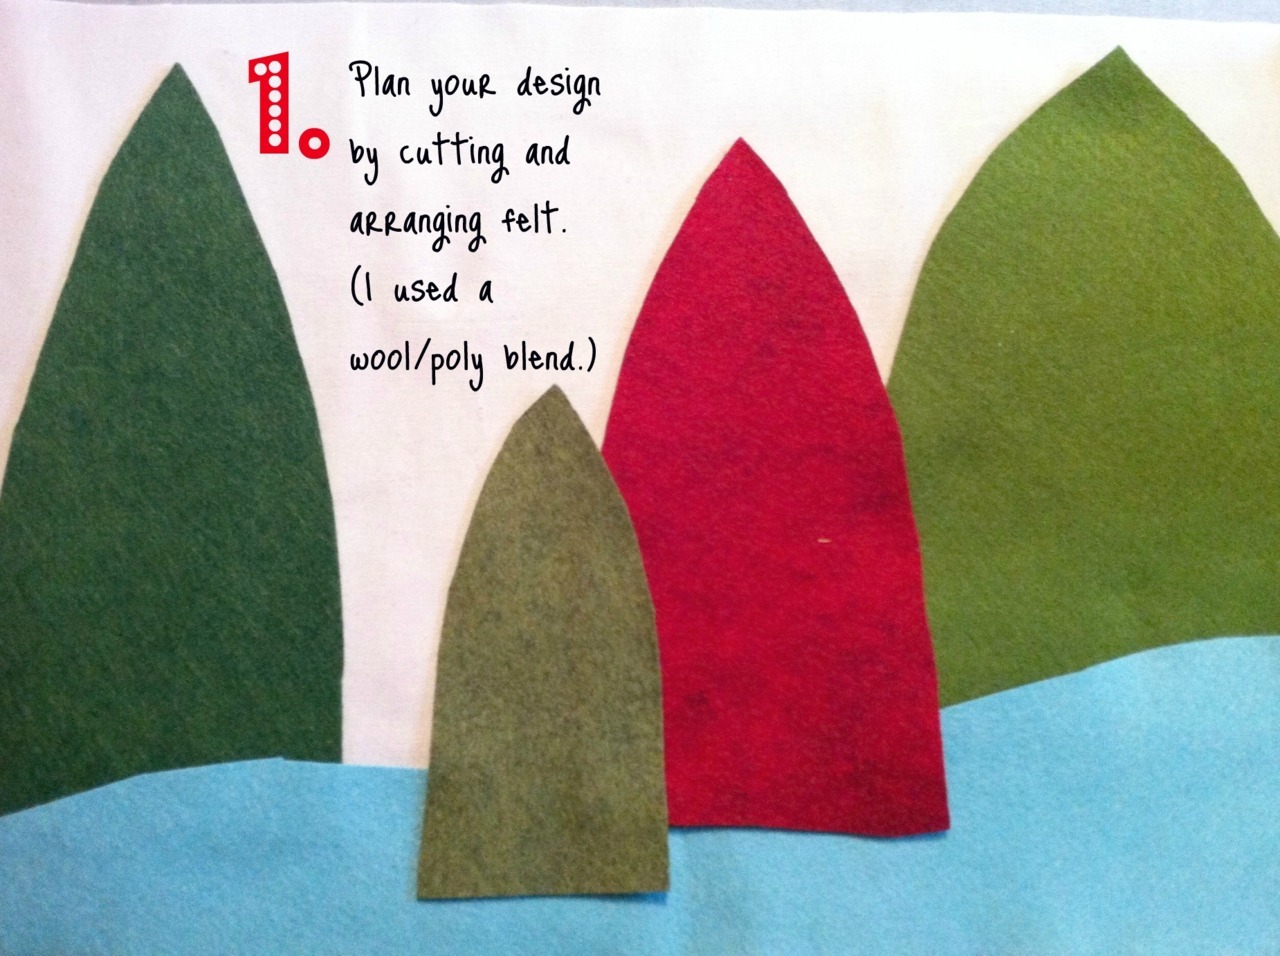
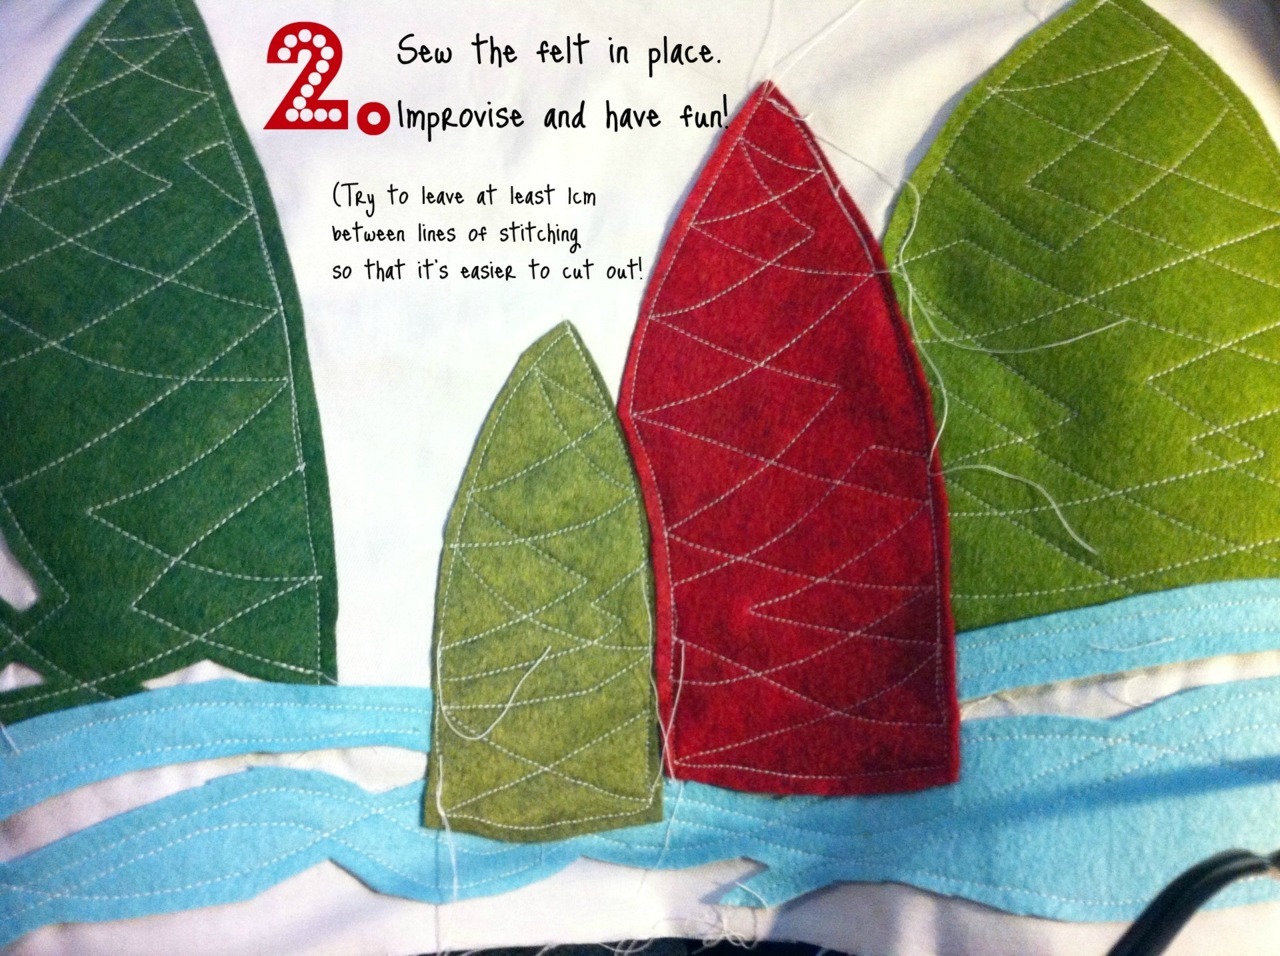
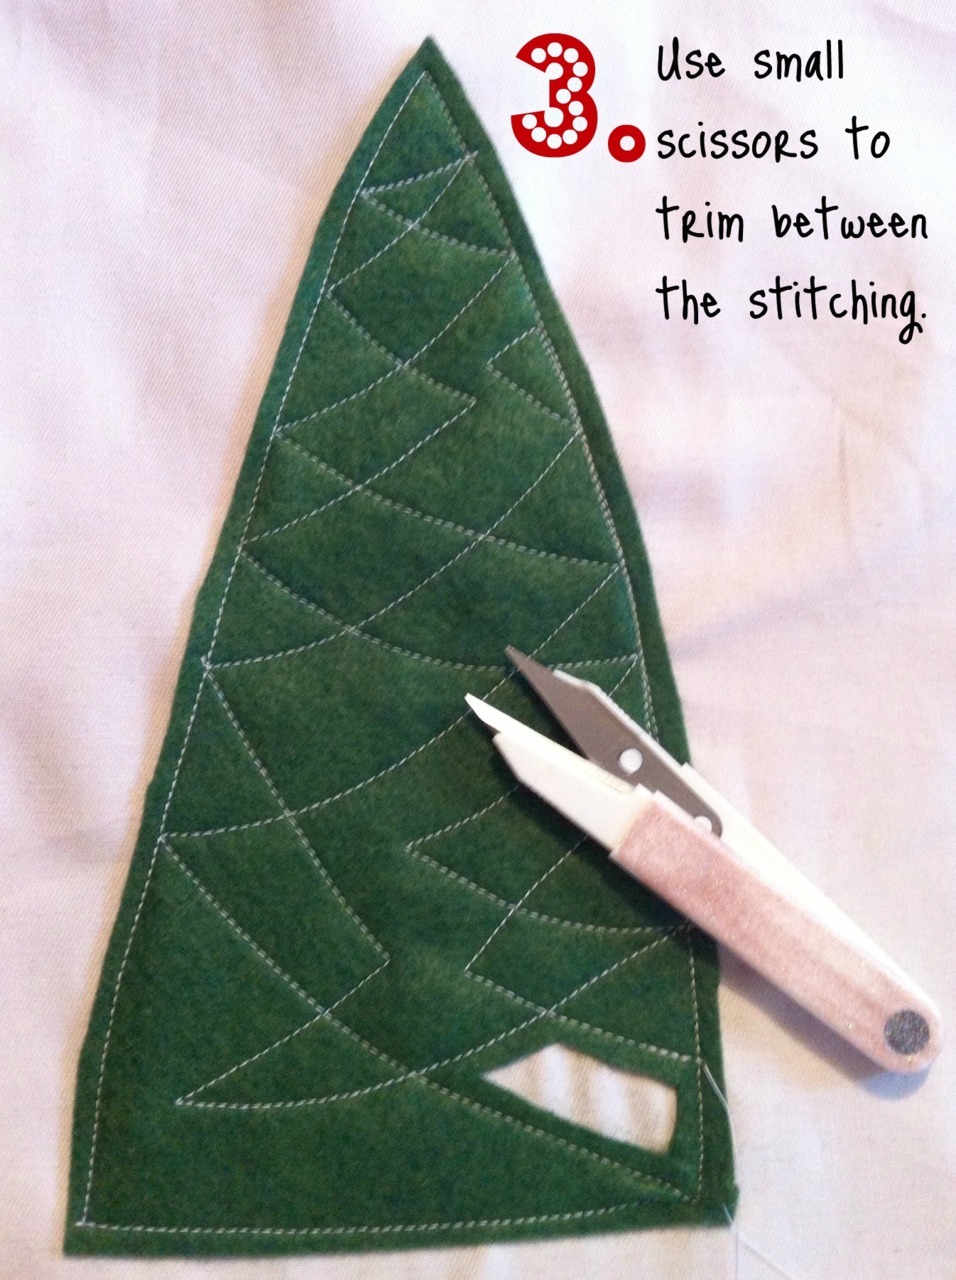
After making myself a rainbow felt pillow based on Betz White’s contribution to the Whip Up Mini Quilt, I feel in love with the process. It’s so quick and fun to sew the felt on, and requires little to no precision. The cutting out… well, it’s less fun, but it’s goes quickly enough in front of the TV! 


I wanted to make my Mom something to say thank you for hosting the big family Christmas this year, so I started dreaming of using the same technique to make her a pillow! It was really fun to adapt the technique from the original abstract design to a more figurative “picture”. Overlapping the trees took some creativity, but it all came together quickly. 


I hope you enjoy the process too! It could be really easily adapted to different designs. 


Merry Christmas, and thank you, Mom! I’m really looking forward to Christmas!

Friday, December 9, 2011


Washi Tape Quick-Fix


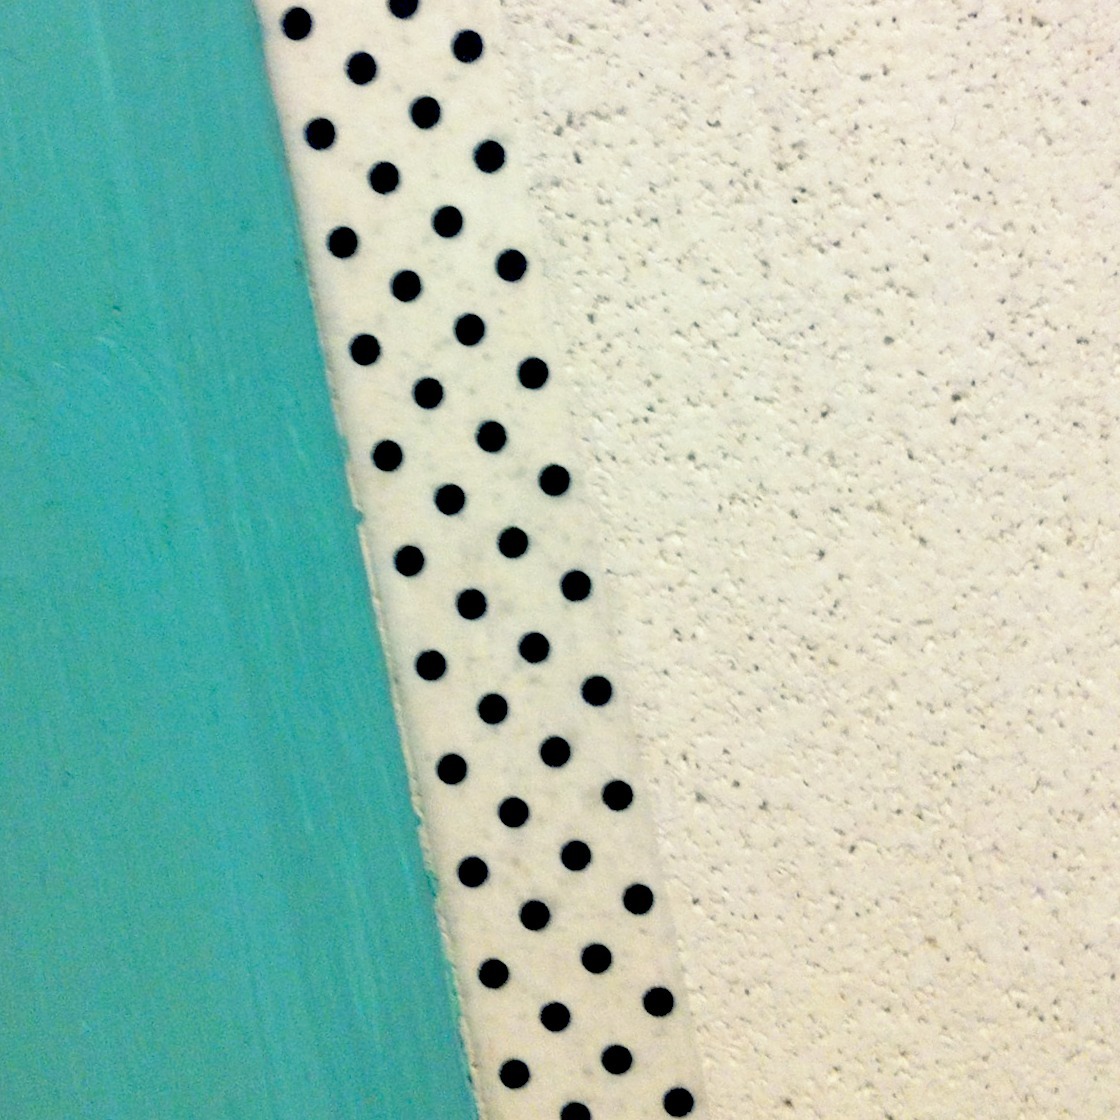
I recently repainted a old bulletin board for my craft room - but of course, I was way too lazy to properly mask of the edge between the frame and cork, and it it turned out messy! My quick fix was to line the edge of the cork part with washi tape. I tried a bright green first, but I liked the black-and-white polka dot better. I think the Collette Sewing esthetic is wearing off on me!
Thursday, December 8, 2011


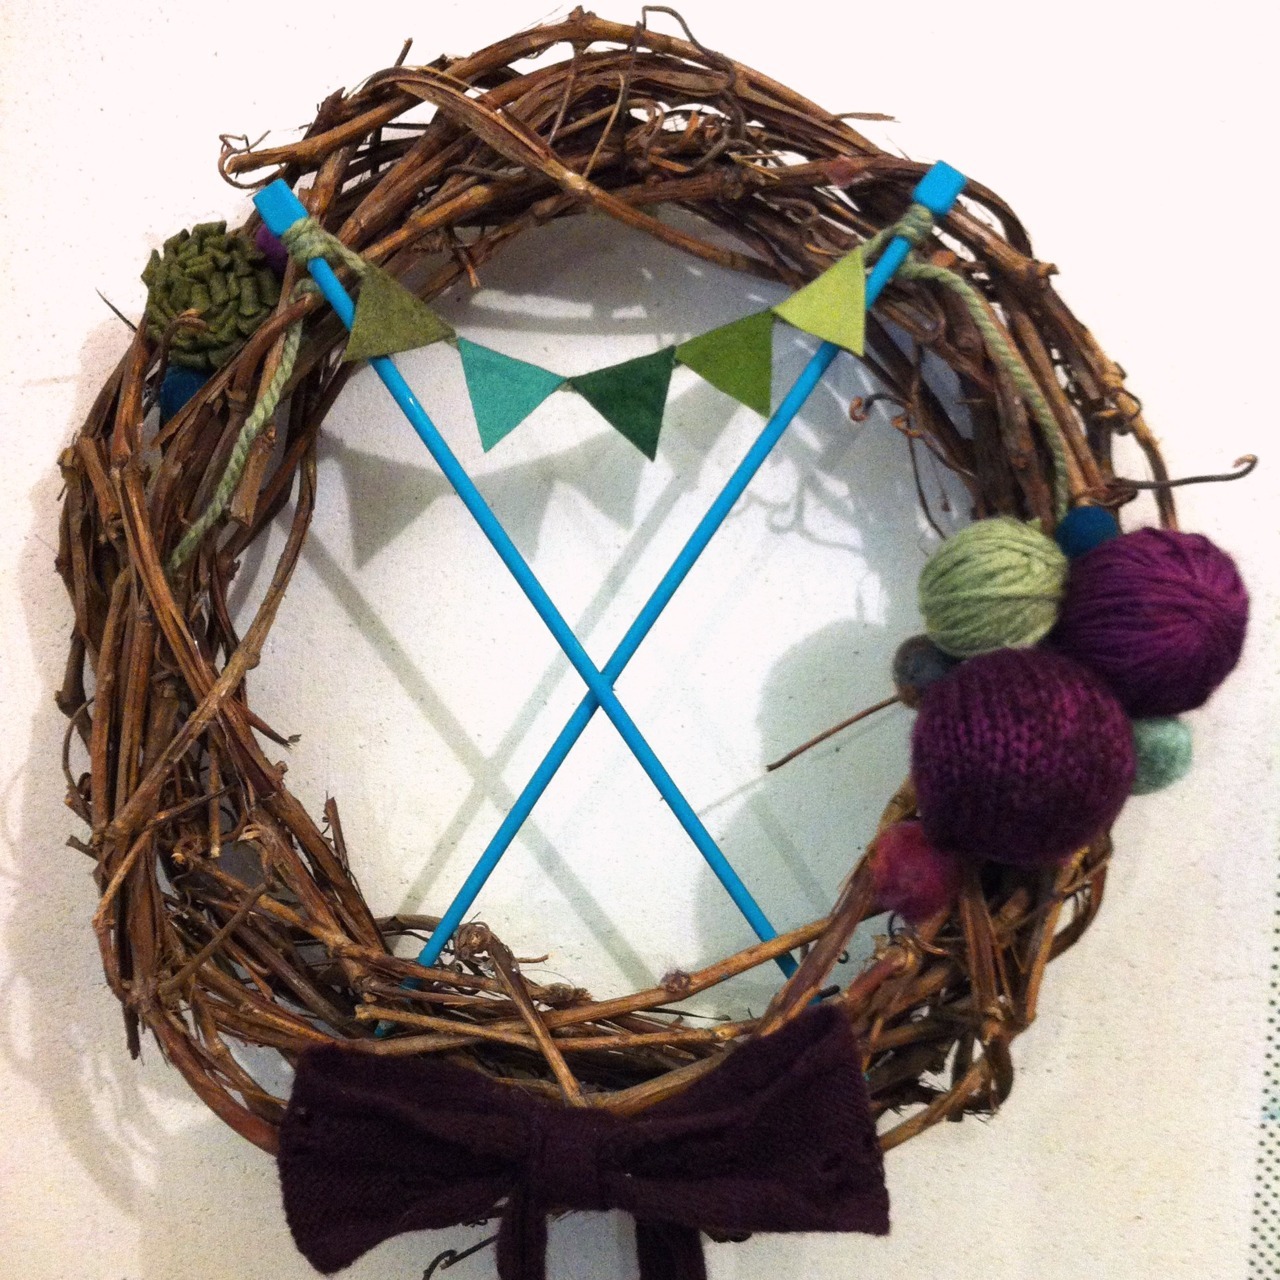
Knitter’s Wreath: 


My sister and her husband recently moved to a new (rental) house, and I made this wreath as a housewarming gift. Unfortunately, i forgot to bring it when we helped them move! Oh well. I guess it’s a Christmas gift now!


She’s an avid knitter and leader of the local knitting guild, so I wanted to make something appropriate for her… but not TOO feminine, if possible! I enjoyed cobbling this together from leftover knitting scraps of my own. I painted the needles with acrylic paint, but it scratches off really easily. I hope it lasts for a while at least!

Thursday, December 1, 2011


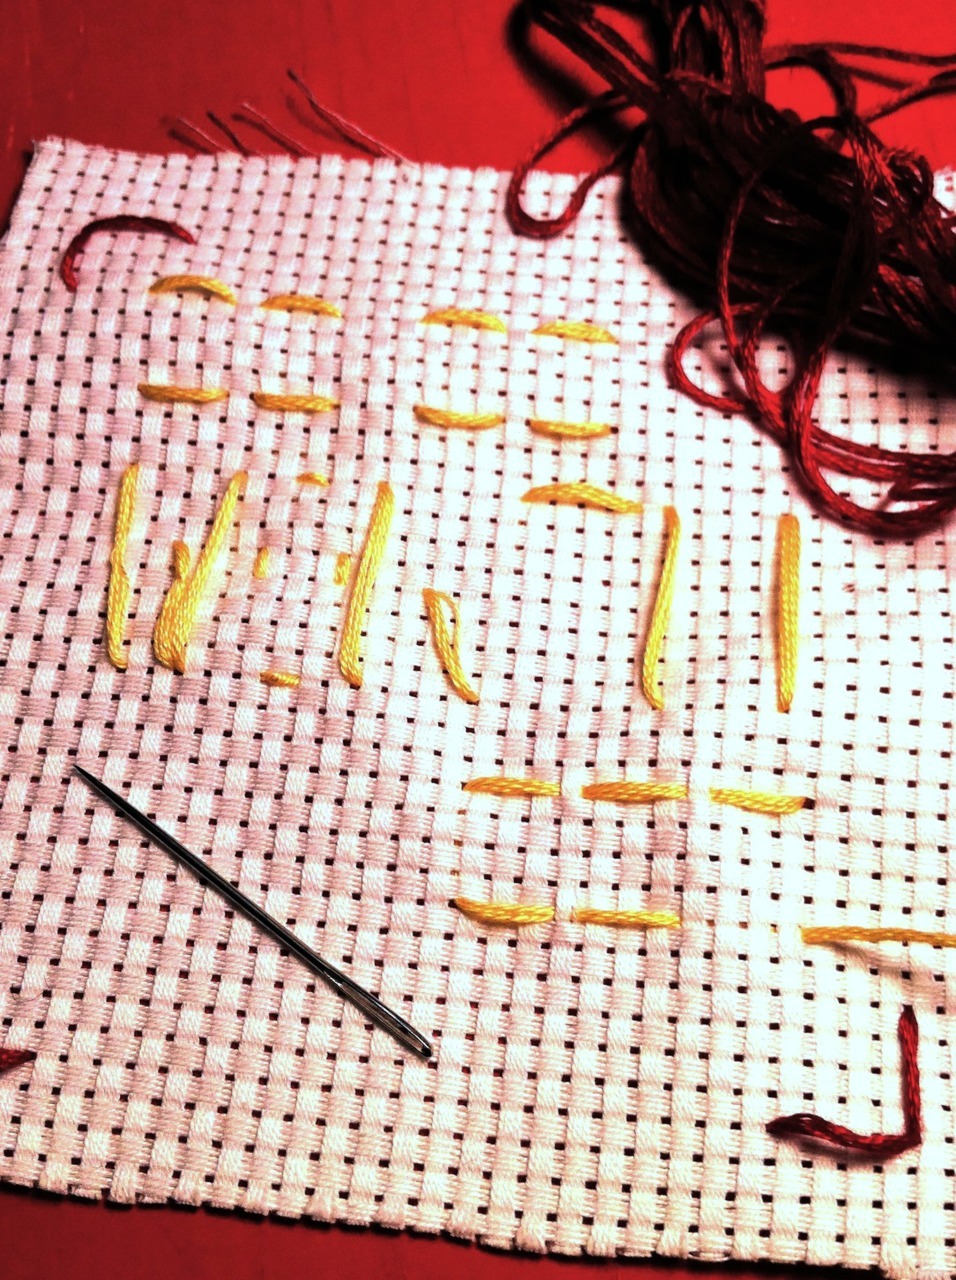
Words To Live By


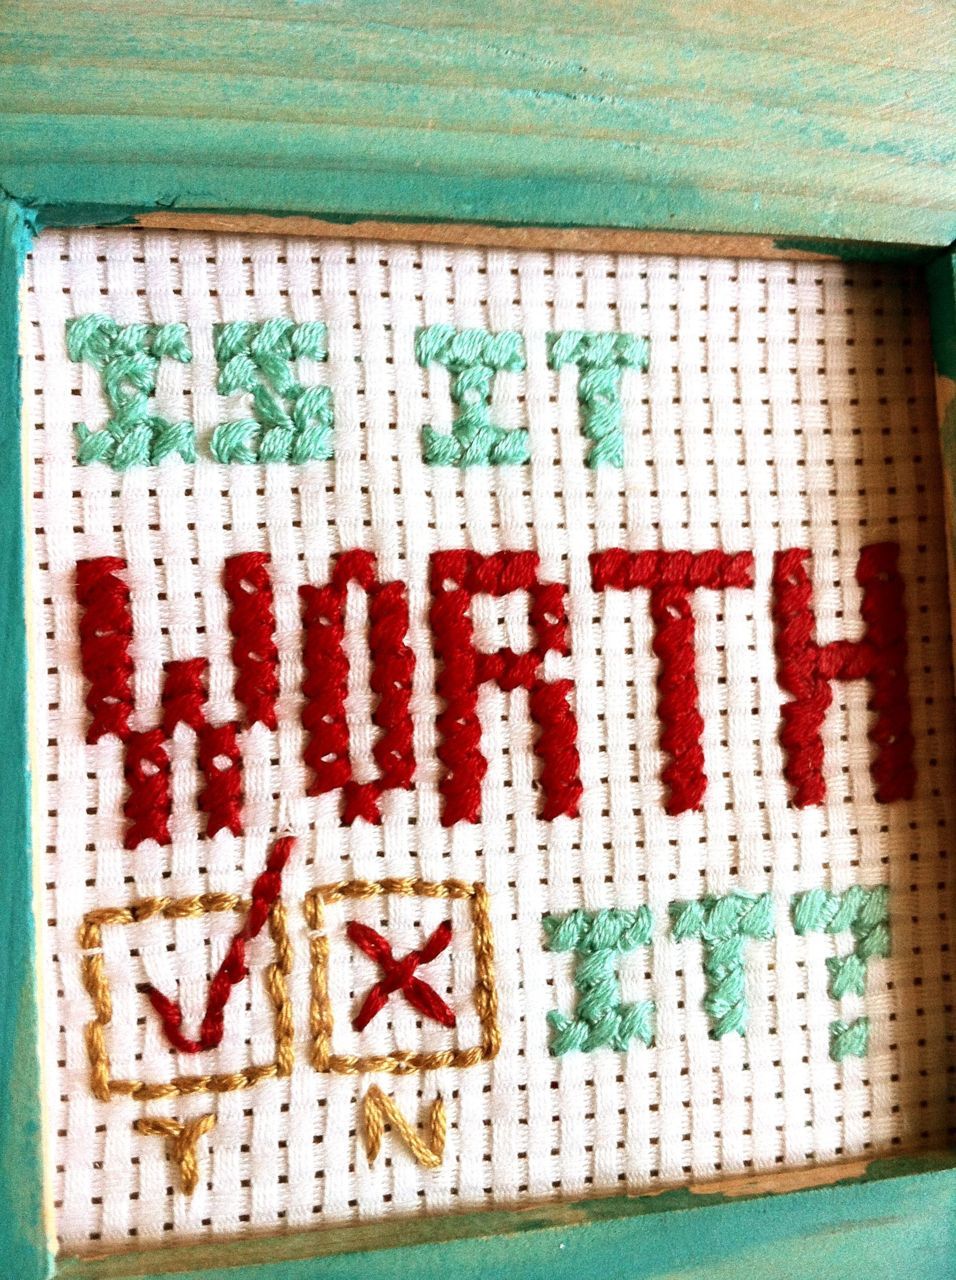
I made this one morning for a friend. We are both perfectionists, so I hoped my teaching slogan would help her out during a busy week! 


I mapped out the letters in yellow thread quickly to make sure I’d have room, then I adapted the letter size further as I stitched. It’s made on large Aida cloth from Japan, leftover from teaching cross stitch to my class. The frame is leftover from our wedding signs, so I hope it brings her good luck and happiness!

Monday, November 28, 2011


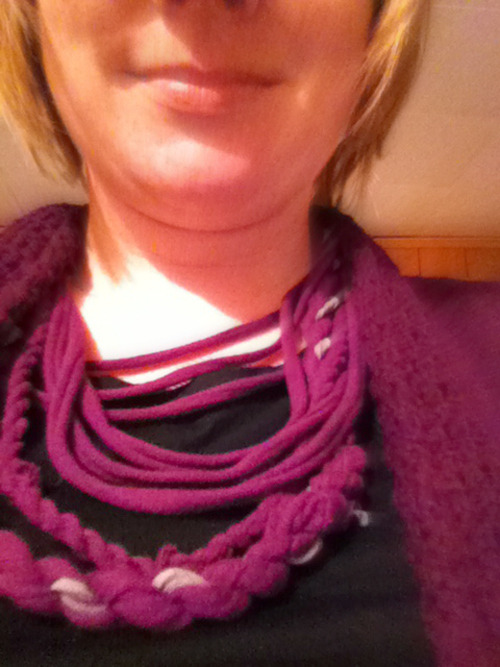
T-Shirt Necklace


I made this a while ago, as part of a goal to turn more of my Pinterest inspiration into reality. I tried a few designs, and I’d like to make more… but there are still some design details to fix. Somehow, when I join the ends at the back and wrap them in jersey to hide the mess, I end up with a bulky “handle” at the back of my neck! I wonder how other people avoid that. 


Stretch Pencil Skirt!


This skirt was my first time ever sewing with jersey! I don’t have a serger, so I used a narrow zigzag for the seams. I copied the shape from a skirt I love, and cut it out with a rotary cutter (also a first!) I love the idea of sewing clothing, but I usually get to intimidated. This was the perfect easy project!

Monday, November 21, 2011

Felted Ball Ornaments Tutorial - Felting with a Sweater

Felt seems like the perfect material for Christmas ornaments to me - It’s warm, cozy, and imperfections just add to the handmade quality. Last year I made felt ball garlands, so this year I was looking for something new to try. 


Materials: 


  • styrofoam balls (Mine were $2 for 10 at the second hand store. They were wrapped in ugly fabric, which I either peeled off for needle-felting, or just left on when felting with sweaters)

  • a pure wool sweater ready to be given new life! 

  • hot water and liquid dish detergent

Here’s How: 


  1. Cut the sleeve: The sleeves of a sweater are perfect for this. Cut a tube of sleeve that just a bit longer than the diameter of your styrofoam ball. 

  2. Sew one end closed and insert the ball: Use a running stitch to cinch one end of the tube tightly shut. Insert the ball into the tube, and push it tightly down to the end you just sewed up. 

  3. Sew the other end closed around the ball:  Pull the tube snugly up around the felt ball, and sew the other end closed.Sew the other end shut.

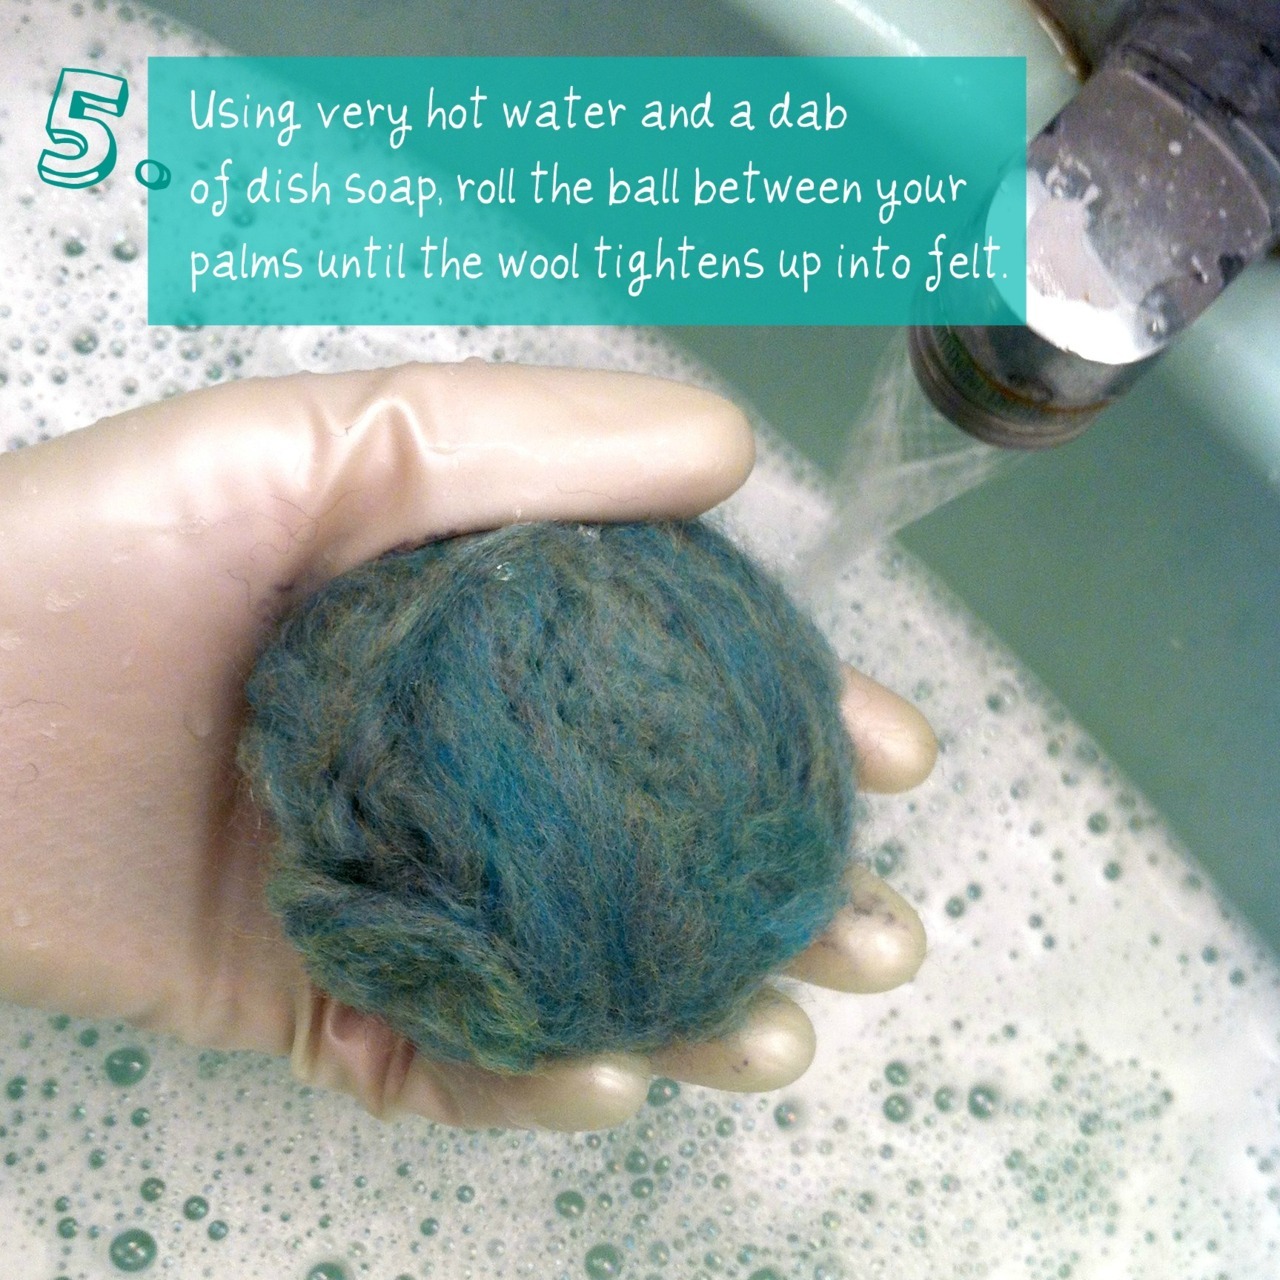
  1. Wet felt: I like to wear rubber gloves for this part, but it’s up to you. Run your tap water as hot as you can. Get the ball wet, and add a tiny drop of dish soap. Roll the ball around in your palms, adding more pressure as the wool tightens up. Every 30 seconds or so, run the ball quickly under the hot water to help the felting process. I find it usually takes just a minute or two to felt. The ends where you gathered the tube shut are a bit bulkier, so really add pressure to those sections. When the whole ball is tight and smooth, you are done!

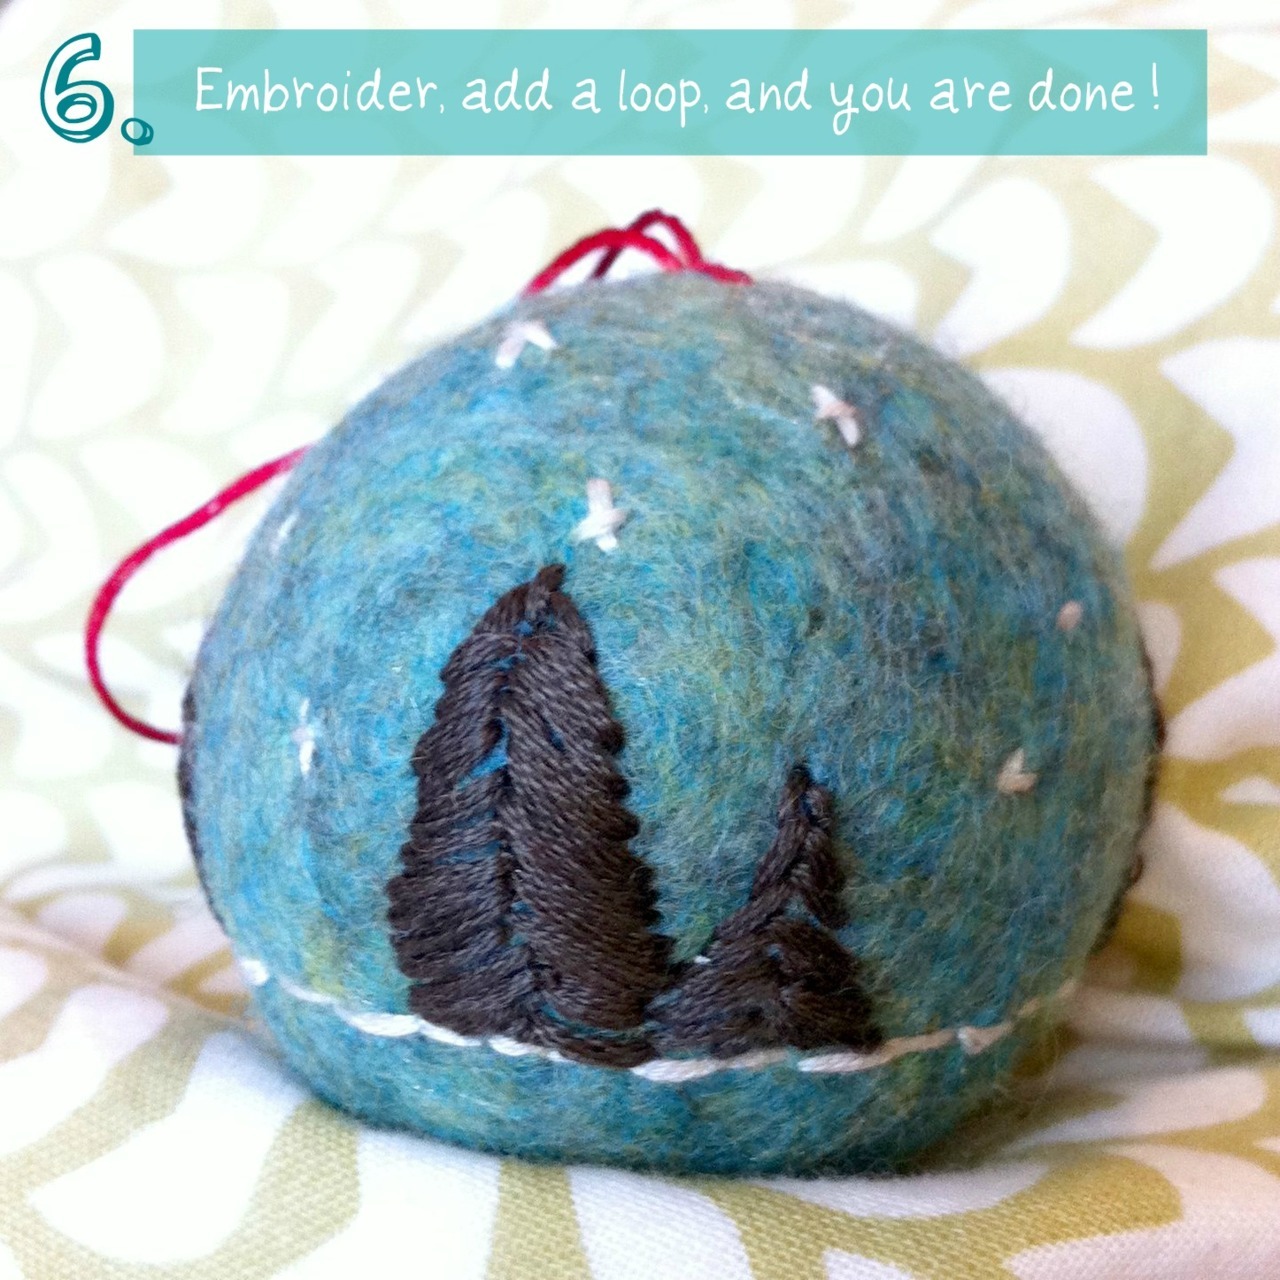
  2. Embellish: Once the ball is is dry, I like to use embroidery floss to add detail. It’s surprisingly easy to sew on the round ball! If you want to use your ball as a tree ornament, then don’t forget to add a loop to hang it with.    

  3. felted ball and finished ball.

The ornaments are really cheap, quick and easy to make! I hope you enjoy the process as much as I do!

Sunday, November 13, 2011


(Attempting a ) Manly Christmas Ornament!


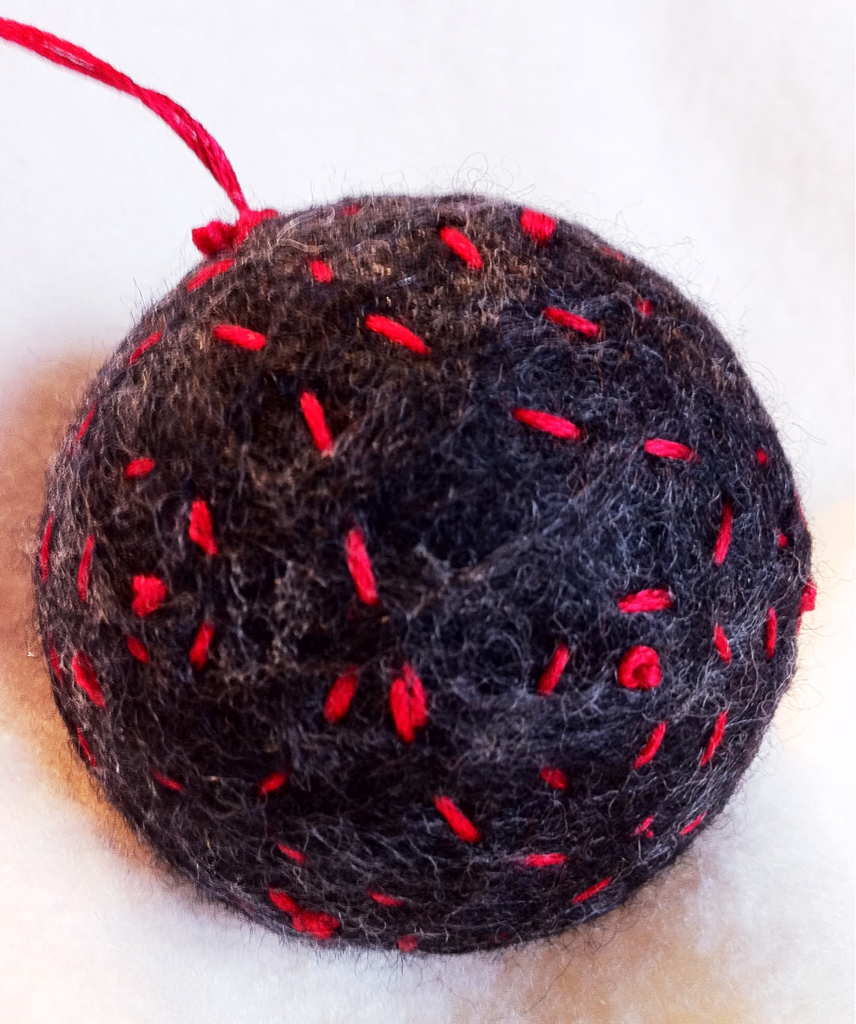
Using a second-hand styrofoam ball as the base, I needle-felted some charcoal wool. It was quick and easy, and the wool held in place when I wet-felted it. I wanted to glue on shapes cut out of grey-green felt, but I couldn’t get it to stick well with either white glue or hot glue. Darn. Embroidery was much easier - but I’m not sure that spirals really meet my goal of making some more masculine Xmas ornaments. Still, I enjoyed the process, and I’m looking forward to trying more!

Friday, November 11, 2011


Cashmere Cowl


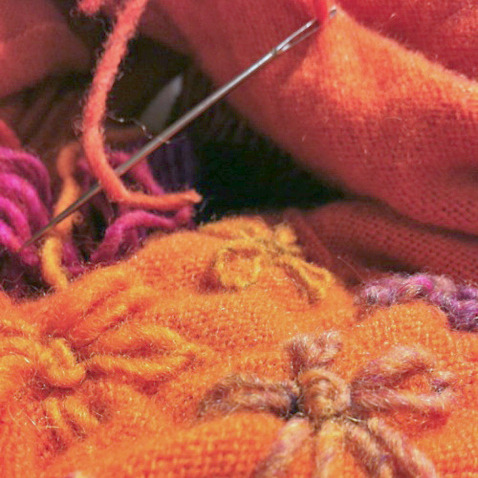
I’d like to pretend that it’s the artificial light making this photo so orange… But no, that’s pretty much the real colour! I bought this sweater to felt, but it didn’t tighten up the way I wanted… So I cut off the torso and made this cowl! I couldn’t figure out what matches orange, so I used some Noro wool to embellish it. (I’ve never loved the colour of this wool - is it a bad sign that it matches the sweater perfectly?)

Thursday, November 10, 2011


Accomplishment #1: (Not that kind of) Remembrence Day Wreath


This started off as something completely different… I was going to use all 10 colours of felt that I recently ordered from Prairie Point Junction online, but I liked the combo of gold, red, and grey so much that I stopped there! I threw in a wee bit of green for good measure at the end… and used a large white felted sweater floer that I’d made before by needle-felting sparkly fluff over cream wool. All of that glued onto a 29 cent wreath from the Sally Anne, and I was done!

Goals

Lately I’ve been thinking a lot about consuming vs. creating. I love looking at craft and sewing blogs, and saving ideas to Pinterest… but I think all that online activity stops me from spending time actually MAKING things. Do you find the same thing? How do you balance inspiration with creation?


So here’s my goal: As often as possible (that’s the lazy woman’s version of “every day”), take a Pinterest inspiration and turn it into reality. Make it! Sew it! Glue it! Get it done. Doesn’t have to be perfect… doesn’t have to be well planned… just craft for the joy of it. I’m a perfectionist in other areas of my life, but craft is my one escape: I love the process more than the product. By setting a goal to make more and view less, I’m hoping to keep sane by keeping crafty. 


Of course, I’m not sure how the blog plays into this.. here I am writing about crafting instead of actually making anything! I’m hoping that the reflection and motivation to post drives me to create.


(And now: To make something with these lovely felt balls!)


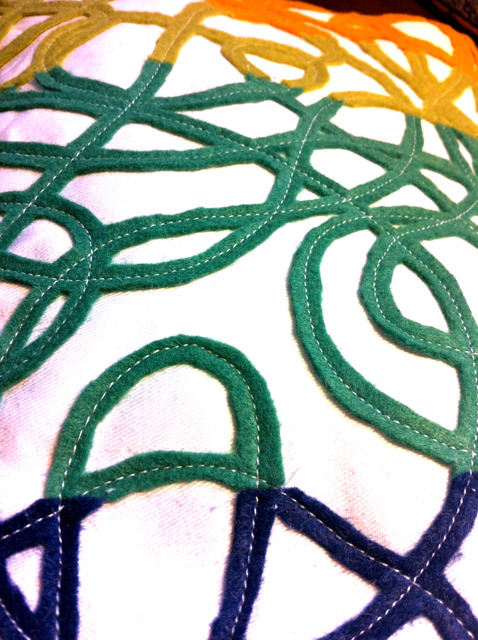
One of the joys of setting up the craft room has been decorating it! Here’s a closeup of one project - A felt aplique pillow based on Betz White’s design in Whip-Up Mini Quilts. It was really fun to sew… less fun to cut away all the little sections of felt between the stitches! I’m hoping to make another one soon. Perhaps it will become my first tutorial?


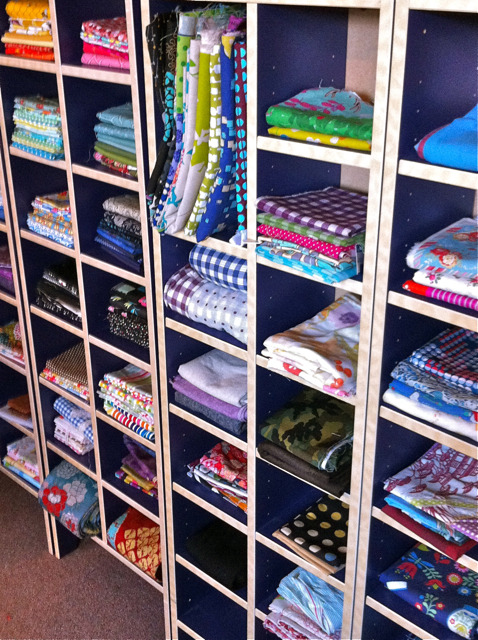
My newest acquisition!  4 IKEA cd shelves which are perfect for storing and displaying fabric! Now I can sit in my armchair and enjoy all the beautiful colours!

A love letter to my craft room (and my husband!)

I’m so thrilled to finally be making myself a craft room that I just had to share! I’ve wondered about it for a while - I love getting inspiration online, but I feel like it’s time for me to give something back to the community. No matter how small or insignificant, I’d like to at least contribute a new idea or two in return for all the jo of seeing other people’s work every day!


After moving home from Japan (along with my precious Japanese crafting supplies!), I tried sewing and crafting in our bedroom for a few months… but that left me stumbling over half-finished project on the way to the closet each morning! 


To my eternal gratitude, J decided that I needed a craft room of my own. One night, he bravely shifted boxed, furniture, keepsakes and piles of junk to make a basement nest for me! About half the room is still piled high with stuff, but the other half is ready for sewing, felting, hot glueing, and whatever else strikes me! Truly, I’m so grateful to have a husband who understand the value and importance of a well-curated collection of things one loves, in a place of one’s own! Thank you, my dear!


More to follow later… Sewing, stamping on fabric, needlefelting, and lovely stacks of fabric to come!