
Short version: I loved it!
Long version: I loved it, and my pics are already better!
I bought and watched this course, and then rewatched parts of it, all in one day. It’s a $60 course, which is pretty steep… but for once, I’d actually say it might be worth it! I didn’t pay full price though - I buy myself ”gift certificates” when they are on sale, then cash them in when there is a course I want. (Even now, the gift courses are only $31, and you can redeem it for any class!)
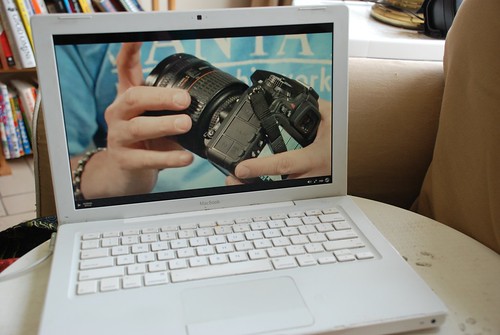
This is the sort of class you want to watch with your camera in hand. My DSLR is actually on loan from my dad, and I’ve basically just been using it as a point-and-shoot camera that happens to have a remote! Before this class, I didn’t know what half the button on the camera meant, and had no idea how to adjust the manual settings.
The course is taught by a photography teacher, who clearly is used to explaining what he’s doing and why. The course starts with a section showing you where things are on your camera, then goes through lessons about playing with aperture, ISO, light, and exposure. For each lesson, he takes pictures of a still life or model, and shows how different settings give a different effect. It makes it all seem really practical and achievable.
As I watched the course I took a bunch of pictures, trying out the different effects… and then later, when I was supposed to be cleaning, I took a lot more! A couple things really made sense to me, and helped improve my pics right away. Here’s a bit more about that!
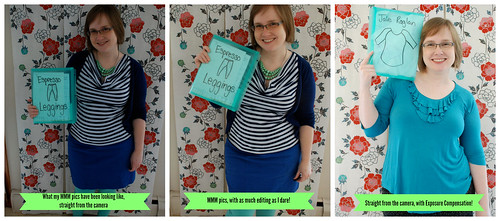
All month, my MMM pics have been turning out really dark, like the one on the far left. I’ve been brightening them up with Snapseed (my photo-editing program of choice), but I can only do so much before they look grainy or strange. What I learned in the Craftsy course is that the light meter averages out all the dark and light it sees to choose the exposure. Because I’ve got so much white in my backdrop, the camera is choosing a darker exposure then I’d prefer. The solution is simple: on the top of the camera there is a button with a +/- symbol on it. Push that, and rotate the dial on the back of the camera, and I can force the camera to choose a lighter or darker exposure than it wants too! Yesterday I set it to +1 (lighter), and look how brighter my pic is on the far right! In fact, I think I went a bit TOO bright - but that’s easy to ix now that I know how.
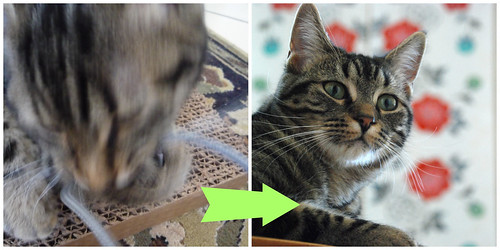
Next up: Almost all my cat pics have been coming out blurry! (And dark, which is the same fix as above!) The course showed me how to set a faster shutter speed on the “S” (shutter priority, or time value on a Canon) setting. That setting lets me chose the shutter speed, and the camera will figure out the aperture and exposure that will give a good shot at that shutter speed. I never know I could do that! Behold, a much better cat pic on the right!
Here’s a sample of the course that’s up on Craftsy’s Youtube channel:
I know there are heaps of ways to learn how to use a camera (playing around, reading the manual, online resources, etc) but this course really worked for me. There’s a lot of information that isn’t intuitive yet, so I like that i can easily go back and rewatch a part of the course. If you are a beginner like me, then I highly recommend this course!
(And no, Craftsy isn’t paying me to say this - Wish they were!)
How confident are you with your camera? Do you have any simple tips that really improve your pics?
Ps. I drafted this about a week and a half ago, and since then, my fellow Canadian blogger Creating in the Gap posted some great tips about taking pics, which you can read here.
Pps. I’m getting 2 wisdom teeth out today! AGGGGGHHHHH! I’ve been avoid this for years. I’m still going to be wearing me-mades (‘cause that’s most of my lounge wear) but I somehow doubt I’ll be looking photogenic! ;) Wish me luck! (And no horror stories, please!)
No comments:
Post a Comment