

This is one of those happy accidents of sewing! I’ve tried it with both fold-over elastic and picot elastic, and they both work well. I’ve got a rainbow stash of elastics ordered off Etsy, so expect plenty of piping in the future!
Here’s how:
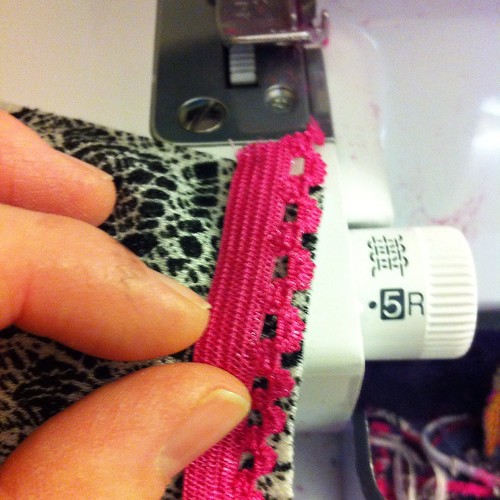
First, serge the elastic onto the edge of the fabric. (I set the differential feed to gather slightly to that the seam doesn’t stretch out. Alternately, I suppose you could stretch the elastic just slightly, but I find the differential feed more reliable!)
I wanted the straight edge to show on the piping, so I serged right over the picot edge without cutting it off. Alternately, you could attach it the other way around and have the bumpy edge showing - could be cute! For fold-over elastic, just serge down on one side of the fold.
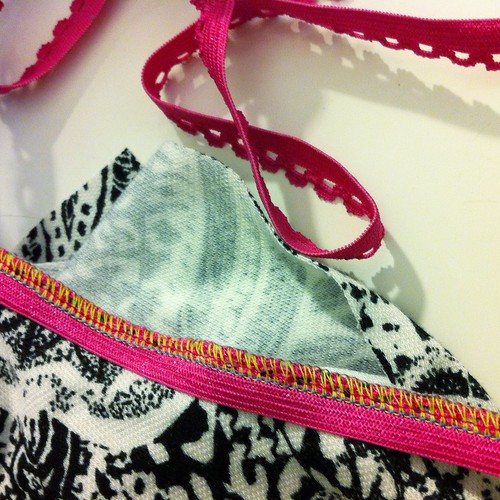
When you attach the elastic, think about which way you want it to lay against the fabric. For example, I wanted the elastic to lie flat against the main body of the shirt, so I attached it to the front and back bodice piece.
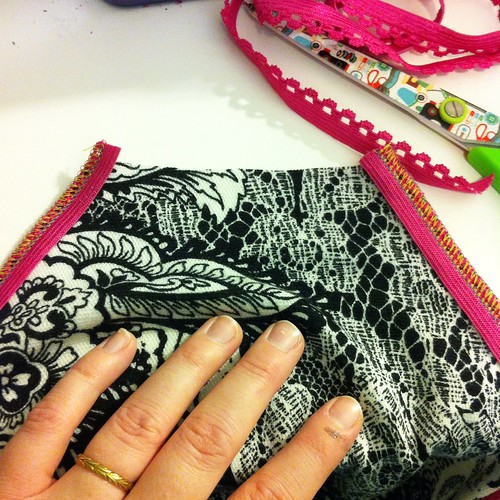
Now it’s time to sew your seams. I sewed right on top of the existing serging without trimming any off. The important thing is to keep the stitching even so that your piping is the same width all along the seam. (I’ll admit - I totally failed at this the first time, and had to cut the uneven piping off and try again! Which really, is not the end of the world…)
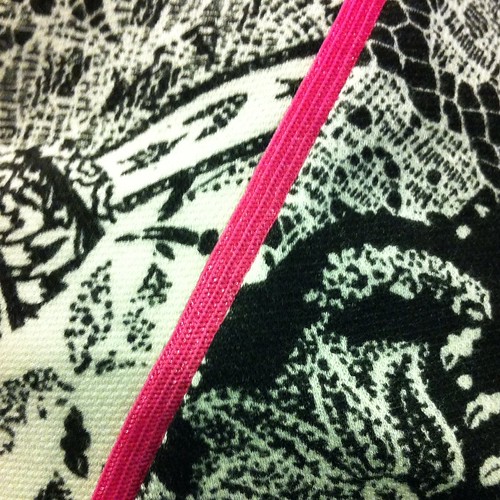
Ta-da! Nice straight piping!
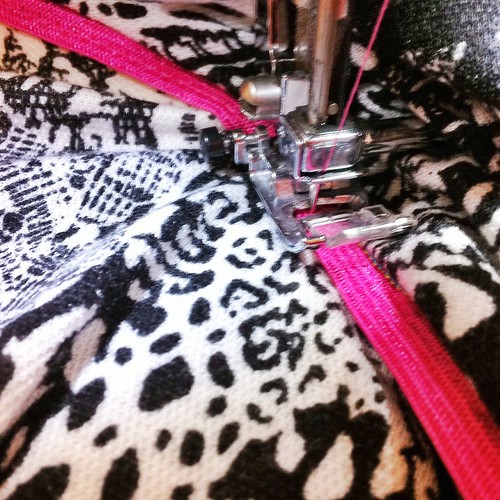
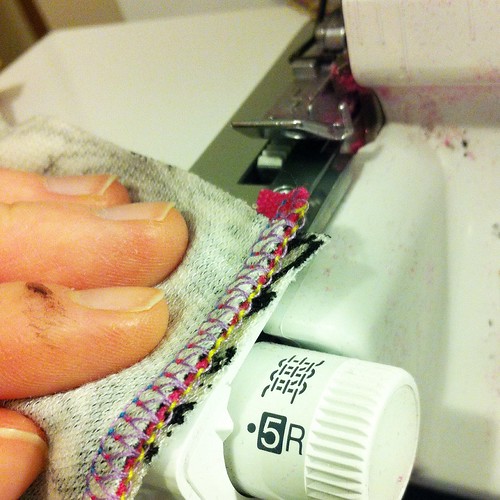
The final step is to zigzag the elastic so that it lies flat.
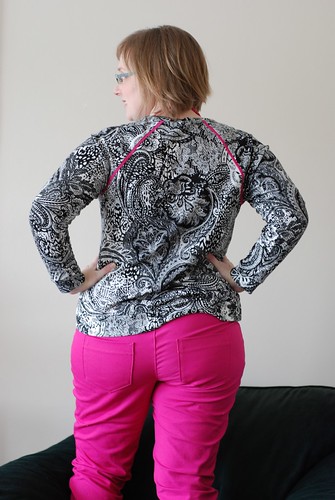
That’s it! The nice thing about using elastic as piping is that it bends and stretches with the knit, and doesn’t affect the drape of the seams.
Here are a couple of examples using fold-over elastic: My Lola dress and a pencil skirt for my sister, which just happen to be in the same fabric! ;)

Happy sewing!
No comments:
Post a Comment