
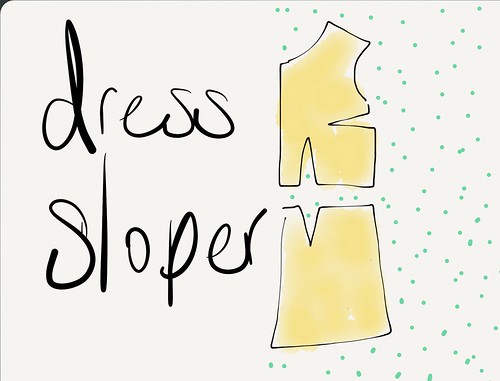
I did it! In fact, I did it a month ago… and couldn’t face blogging all the details! Making a sloper was fun but slow - I tried 3 different strategies, made at least 6 muslins, and ended up with something that… well, fits as well as a RTW pattern that I’ve modified. Hmmm.
I don’t want to bore you to death, so I’ll try to keep this quick!
Method #1: Work form a well-fitting RTW pattern.
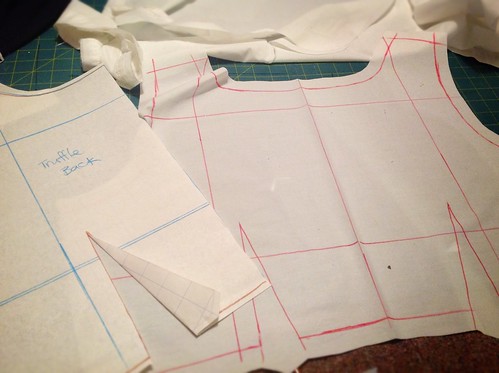
My Truffle dresses fit really well, so I thought that was a good starting point… but somehow I misplaced the traced version that i’d already modified, and had to start from scratch.
To alter the sloper, I tried applying what I’d learned from the Craftsy course, Sew the Perfect Fit. Sounds promising, right? The method is all about slashing and spreading, and adding in strips of fabric, until your horizontal and vertical grainlines are perfectly aligned at horizontal or perpendicular angles to the floor.
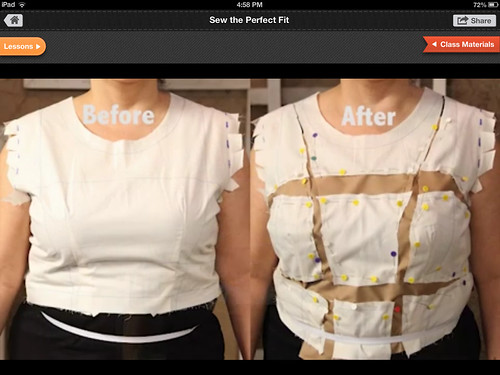
Sounds easy, right? Well, kinda. It was easy enough to slash and spread, but after I found it surprisingly difficult to know what to do where! (For example, how many of you get the upper back puff on Colette patterns? I’ve always taking in the centre back seam to get rid of it… but this time I did a big swayback adjustment and the problem disappeared! If both horizontal and vertical solutions work, how is one to know which one is best?)
Eventually, of course, I found the Truffle pattern that I’d modified before! When I compared the two, the sloper version I’d been working so hard on was AT LEAST a few sizes bigger than the one I’d used before, and differently proportioned… and so I gave up. Maybe I just had no idea how to fit things? Grrr.
Method 2: Math!
I have to admit, I really enjoy the drafting of the paper pattern. With my sister’s healp, I took all my measurements and recorded them right onto a PDF tutorial from Threads. As a new owner of an iPad, playing with a new toy kept me happy!
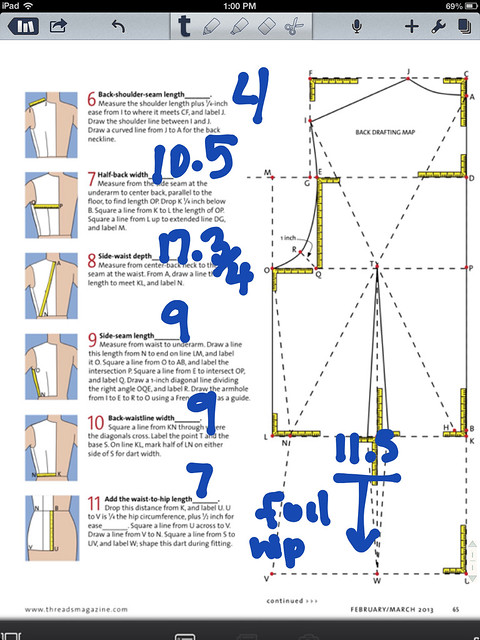
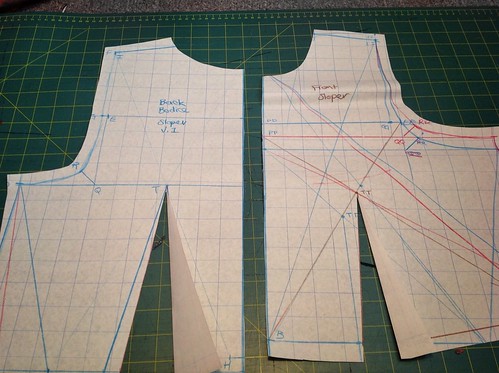
From there, it really wasn’t too hard to follow the step-by-step instructions and draft out the back bodice. But by time I got to the front I was getting tired, and this happened:
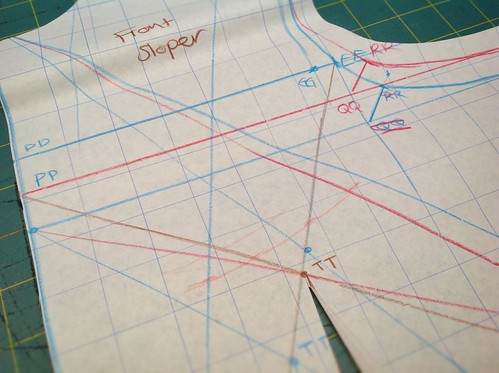
Yeah, that would be a WHOLE lot of mistakes and corrections!
The exciting part was that after all that math, this pattern at least FIT. I did a small FBA using the slash and spread, and then it was ready to go! Ready to become…. THIS!
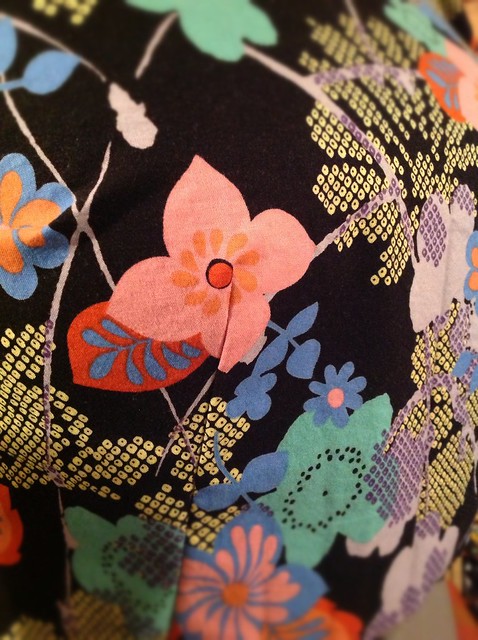
Yes, the most nippley of nipple dresses! But more on that next time… ;)
The Verdict:
The Good: I learned a lot, tried a few new techniques, and now I have a bodice sloper! It fits and I’ve already used it to make a dress. Mission accomplished!
The Bad: What I’ve really done is drafted a bodice block. It doesn’t fit super-tight like a sloper, and I’m not convinced that it has the “perfect” armhole curve etc that I would use to adjust other patterns. I also tried drafting sleeves, but couldn’t get them right!
Final Thoughts: Give it a try! i might sound a bit down on the whole process, but I really did enjoy it. It was a fun challenge, and I’m proud to have given it a shot!
Have you ever made a sloper? How did you go about it? Do you actually use it in your sewing?
No comments:
Post a Comment