
Oh my. You know when you get so hooked on something that you just can’t stop? That’s me with my new package of rainbow permanent markers. (Technically they are Bic brand, not Sharpies, but indelible markers are always “Sharpies” to me!)
A month ago, Sue from Sewin’ Steady asked if I’d like to write a guest post for her blog while she is away this week. Of course I said “Yes!” - Somehow it’s so much more exciting to blog for someone else than it is for myself! ;) I wasn’t sure what i’d write though, until I saw 36 rainbow pens ($20 at Walmart), then I knew just what I’d do!
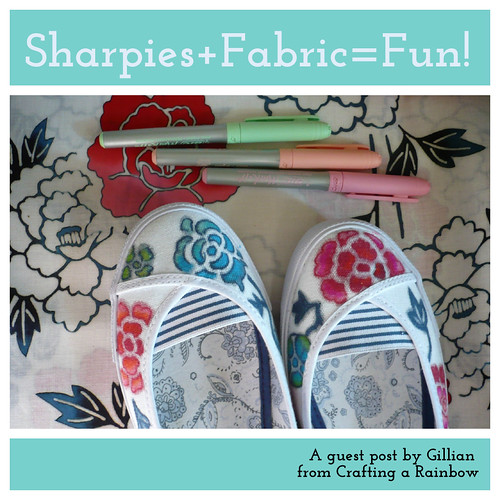
I was HOOKED! I roped my Mom and sister in, and pretty soon we were Sharpie-ing dishes, clothing, and easter eggs! But was that enough? Oh no… I had to find something new to colour! And so I present to you… The Sharpie Dress!
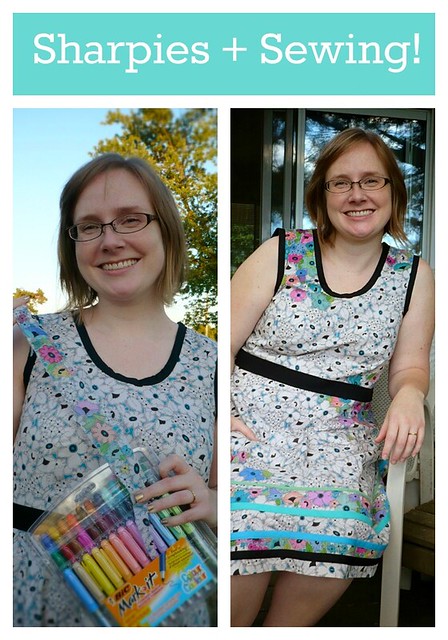
Yup! I made a dress, and coloured it. Will it hold up in the wash, or fade over time? Who knows! But for now, my Sharpie urges are sated and I’m very happy with my new dress!
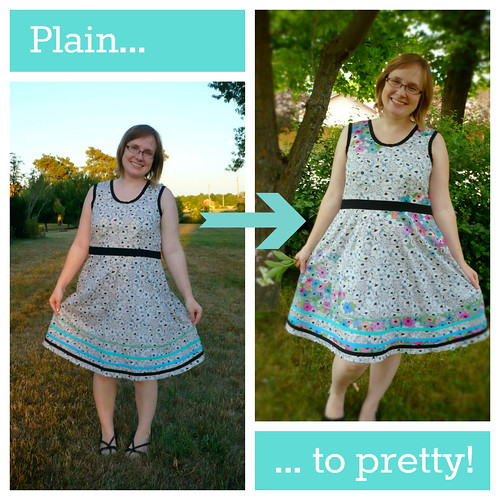
Back to the beginning. I got this Japanese lawn for cheap, but the greyish backgroup always threw me off. The background is printed in a lovely bright blue, but the flowers themselves always seemed a bit sad. This was my first project back after a bit of a sewing slump earlier this month, so I purposely didn’t plan or fuss about anything. This is definitely an improv dress!
Sewing deets: I used the Colette Truffle bodice as the base, and loosely cut the skirt to be a 1/2 circle-ish shape. The bodice is lined with bedsheet, and the skirt with crinkly gauze. The neck and sleeves are bound with black bias tape, because that’s all I had! (Something narrower might have been better, but this dress was all about enjoying the process not fretting over the product!) I like how the last-minute bias trim around the hem helps to give it some body. As Bob Ross would say, “There are no mistakes, only happy accidents!”
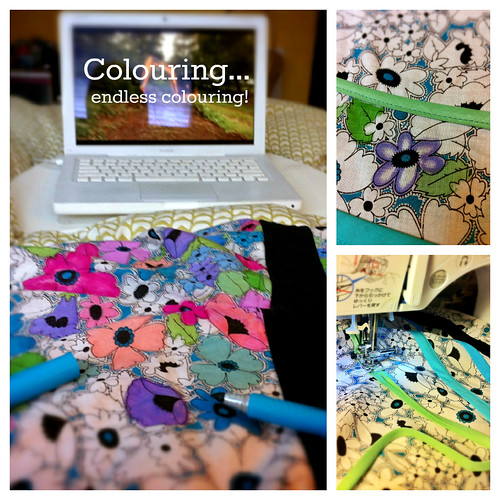
Colouring a dress: Really fun when you start, and painful by the end! (Literally - my longtime repetitive stress injuries in my wrists flared up big time as I rushed to finish… This is definitely a project to do over time or with a friend!) I did get help from one of the other crafty ladies when I took this project along to a craft night at a local sewing store (Hi Mary, and Hi, Needlework!). In the end, I put on lots of episodes of Time Team and The Joy of Painting, and got down to business! The colour blend beautifully on the fabric, so it really looks like a painted print.
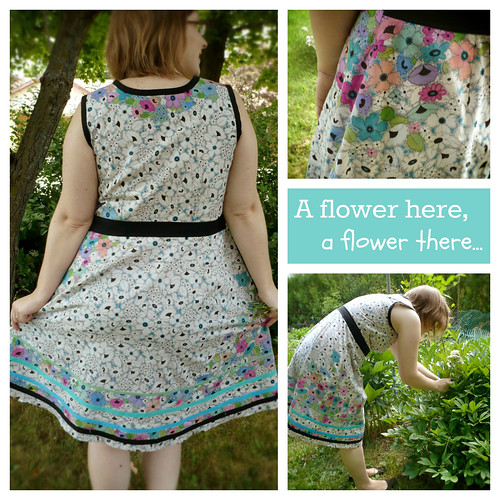
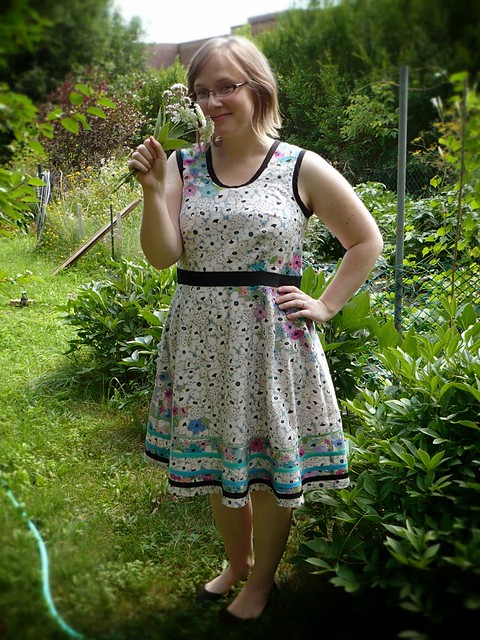
Where to colour? I had two golden rules for colouring in the dress: don’t colour over the bewbs, and don’t make it look like rainbow sweat stains! (Truly, I’m a classy lady, doncha think?) I enjoyed colouring dark concentrations in some areas, then fading out to black and white with just a few bright flowers or leaves.
And there we have it! My sharpie dress. I really love the finished product… but I’ll be honest: I HAVEN’T WASHED IT YET. I’m going to but I really wanted to give the ink a day or two to set. In the tests I’ve done, the ink does run if you just stick it in the wash (especially the pink). However, in test #2, it seemed to fade but not run if it was ironed first. I don’t mind it it bleeds or fades… but I don’t want Sharpie rubbing off of other laundry (or heaven forbid, and upholstered chair that I sit on!) I’ll keep you posted on how it goes!
Why do we sew, though? Did I really need a new dress? Or did I need a creative challenge that would restart my mojo and make sewing fun again? For me, this time, it was definitely the latter… in which case this dress has already been a success.
Thanks again to Sue for inviting me to post over at her blog today - Go and check it out if you haven’t already!
No comments:
Post a Comment